Project overview
A c1855 homestead,
rendered the old way
- Location
- Rosehill Homestead, Bonds Road, Lower Plenty, VIC
- Property
- Historic homestead — original section c1855, additions c1860s
- Project type
- Heritage rendering restoration and facade repair
- Primary services
- Render removal, stone and brick substrate repair, steel lintel installation, rising damp treatment, splash coat, reinforced sand and cement render, sponge finish
- Project challenge
- Failed and delaminating render over a mixed stone and brick substrate, rising damp at the base course, and a deteriorated window head on a 19th-century homestead
01 — The building
Older than the
render it wore
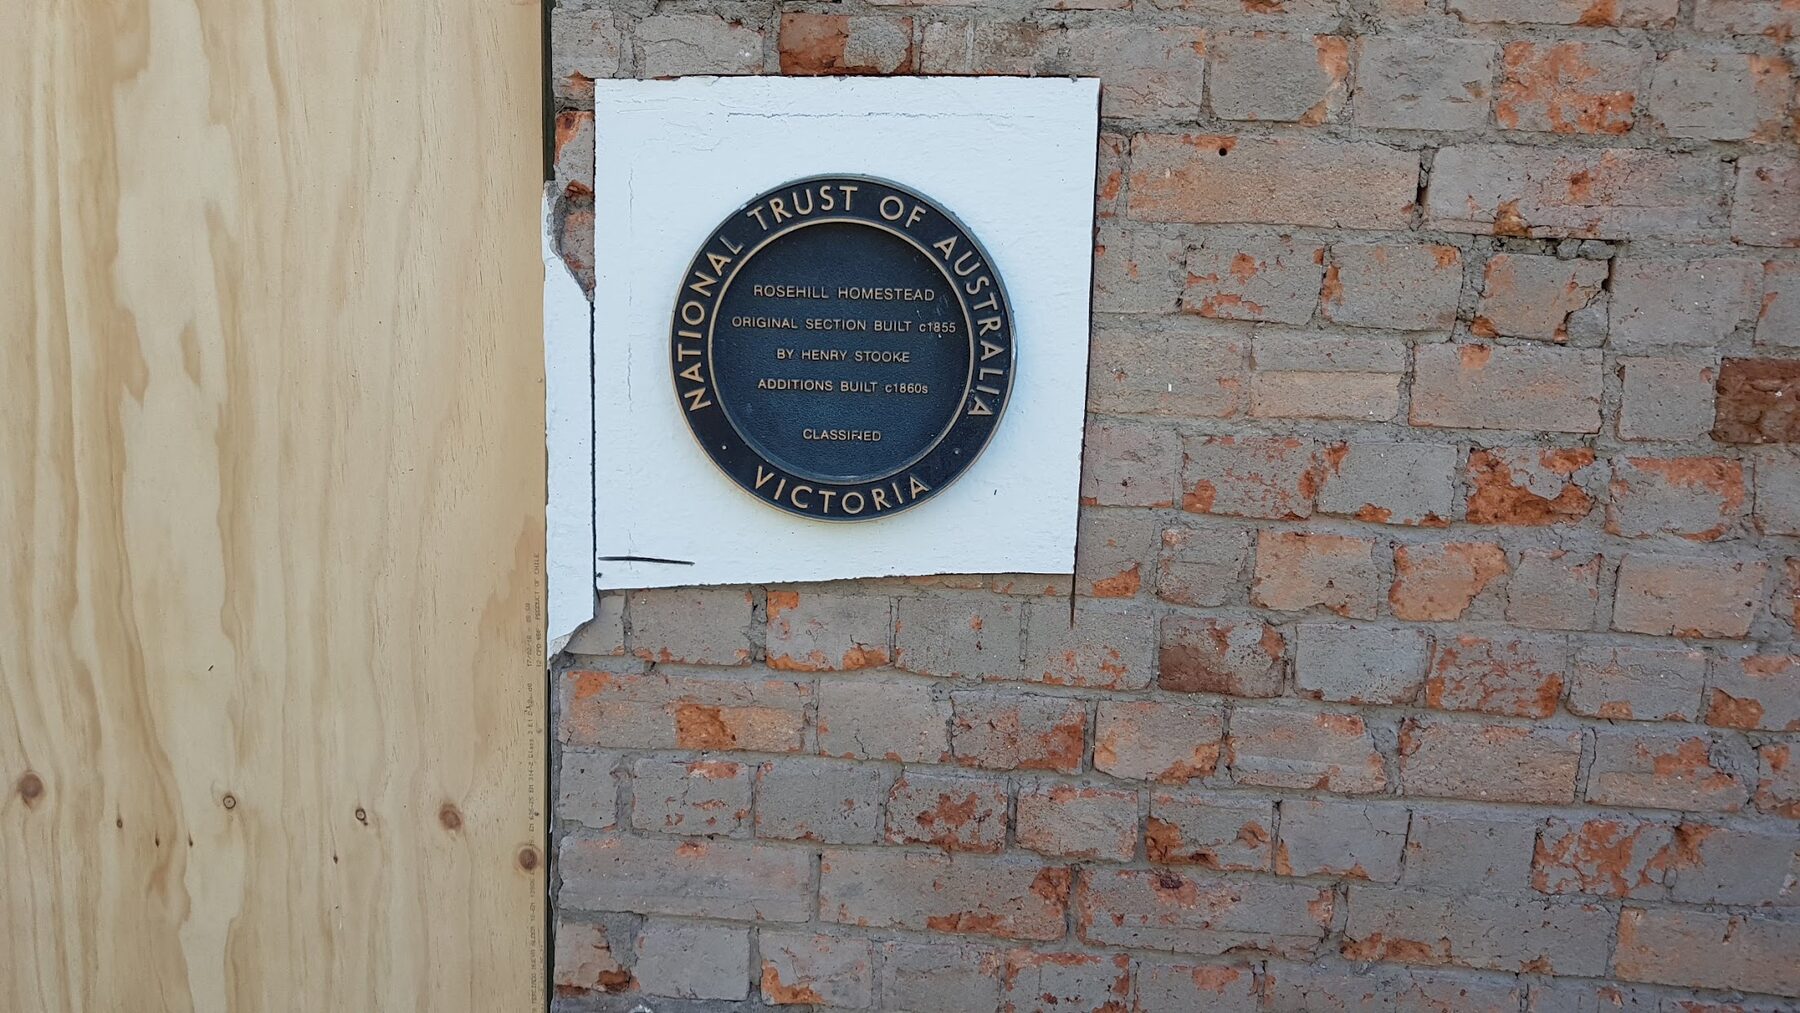
Rosehill is a historic homestead on Bonds Road, Lower Plenty. The original section was built c1855 for Henry Stooke, with additions through the 1860s. The walls are solid — stone and early solid brickwork rather than the cavity construction that came later — and they had been rendered and re-rendered over a very long service life.
On a building like this the render is not decoration. It is the sacrificial layer that takes the weather so the masonry behind it does not. Once it fails, it stops shedding water and starts trapping it, and the wall behind begins to suffer.
That is exactly the condition we were called to. The brief was restoration, not resurfacing: strip it, find out what the walls were actually doing, fix the causes, then rebuild the render system properly.
02 — The condition
Cracked, drummy
and drawing damp
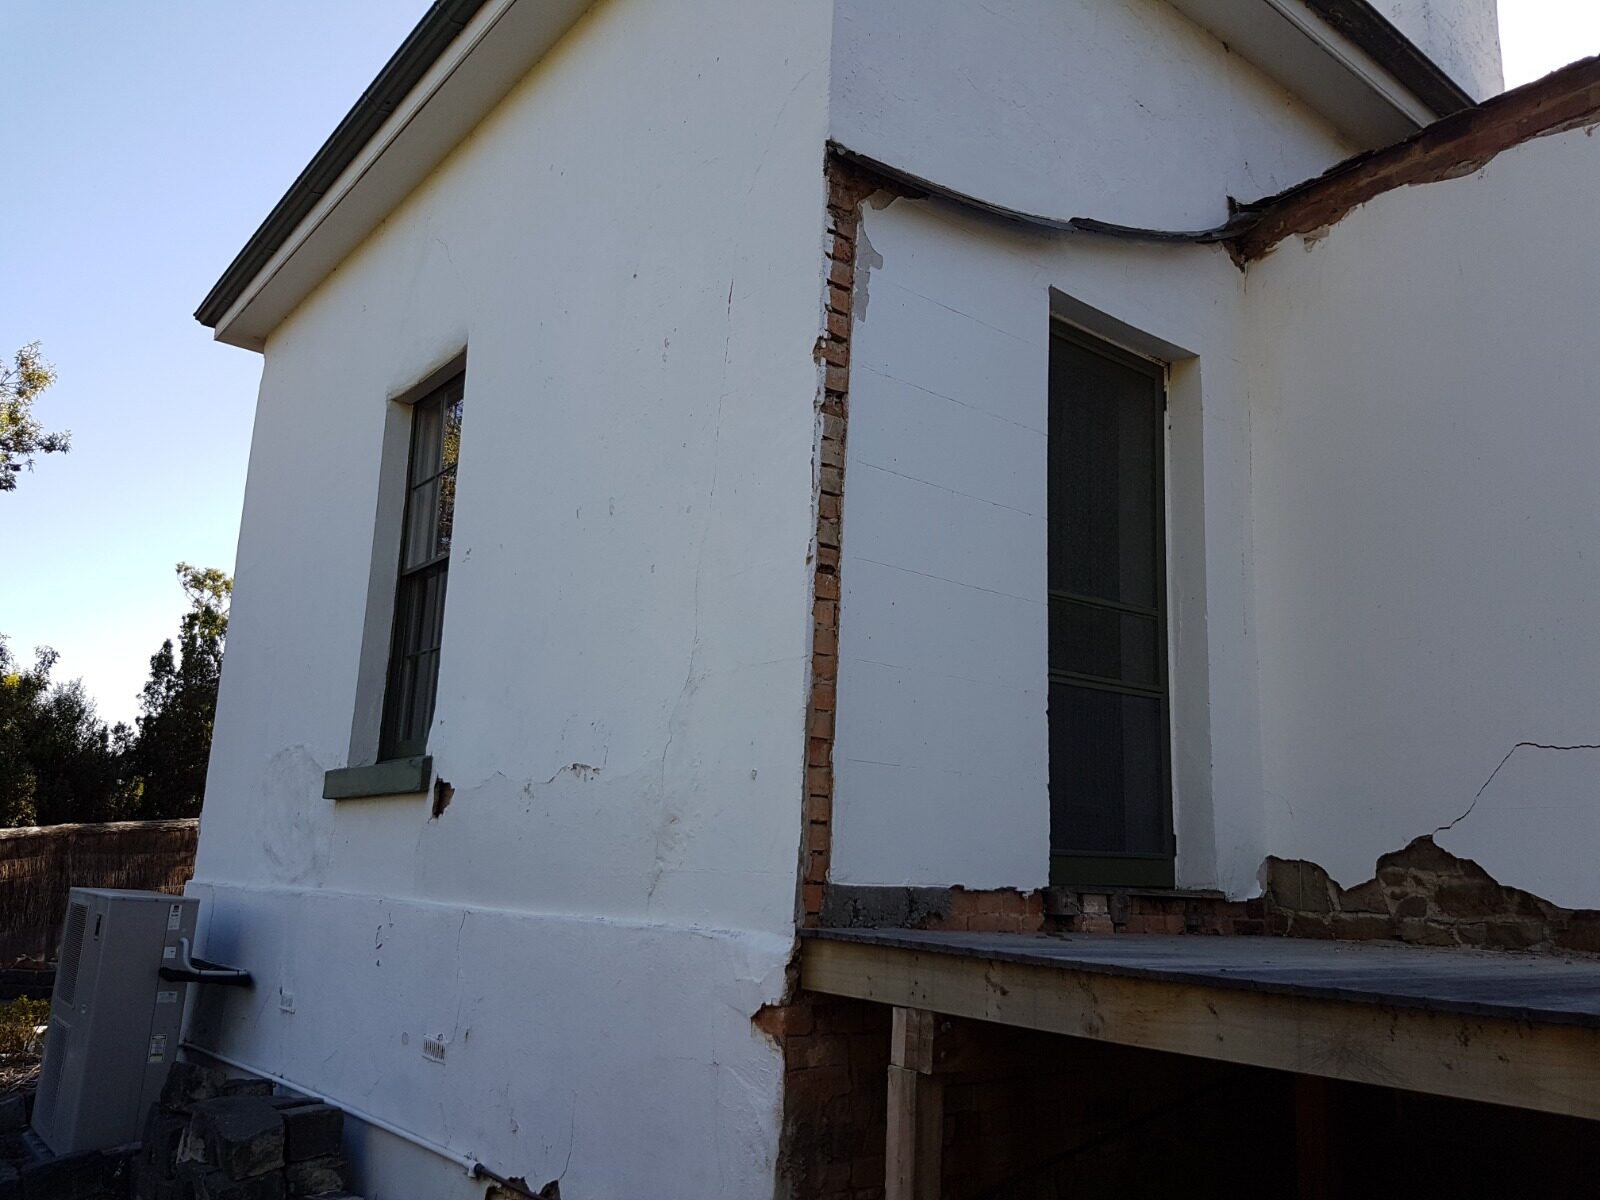
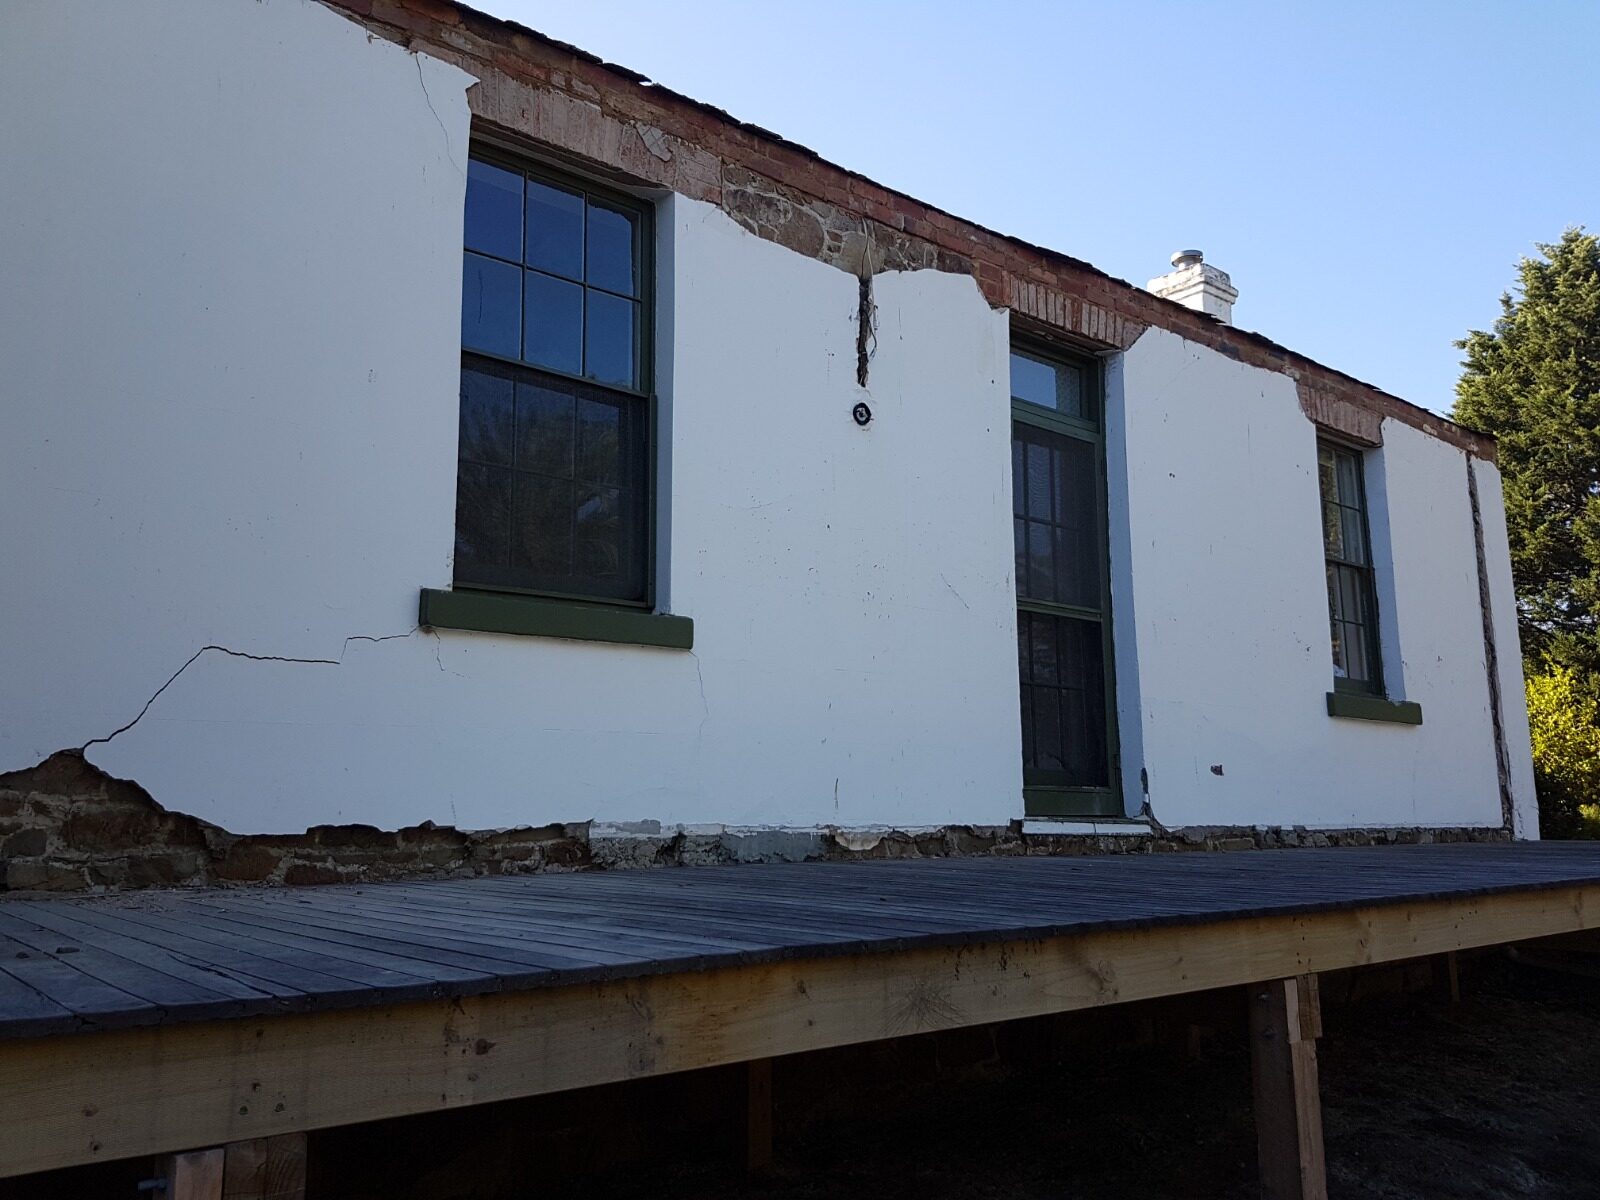
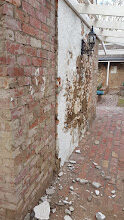
Every elevation was sounded before anything came off. Large areas returned hollow, cracking ran through the coats rather than across the surface, and sections had already blown clear of the masonry. Where the render was still attached it was often holding water against the wall instead of releasing it.
Along the lower perimeter the render was blistered and crumbling with tide-marked staining above it — a rising-damp issue at the base of the walls that had to be dealt with before any new render went on.
One window head had also failed, with the masonry above it deteriorated to the point where it needed structural support before any new render could be trusted over it.
03 — Stripping back
Back to stone
and solid brick
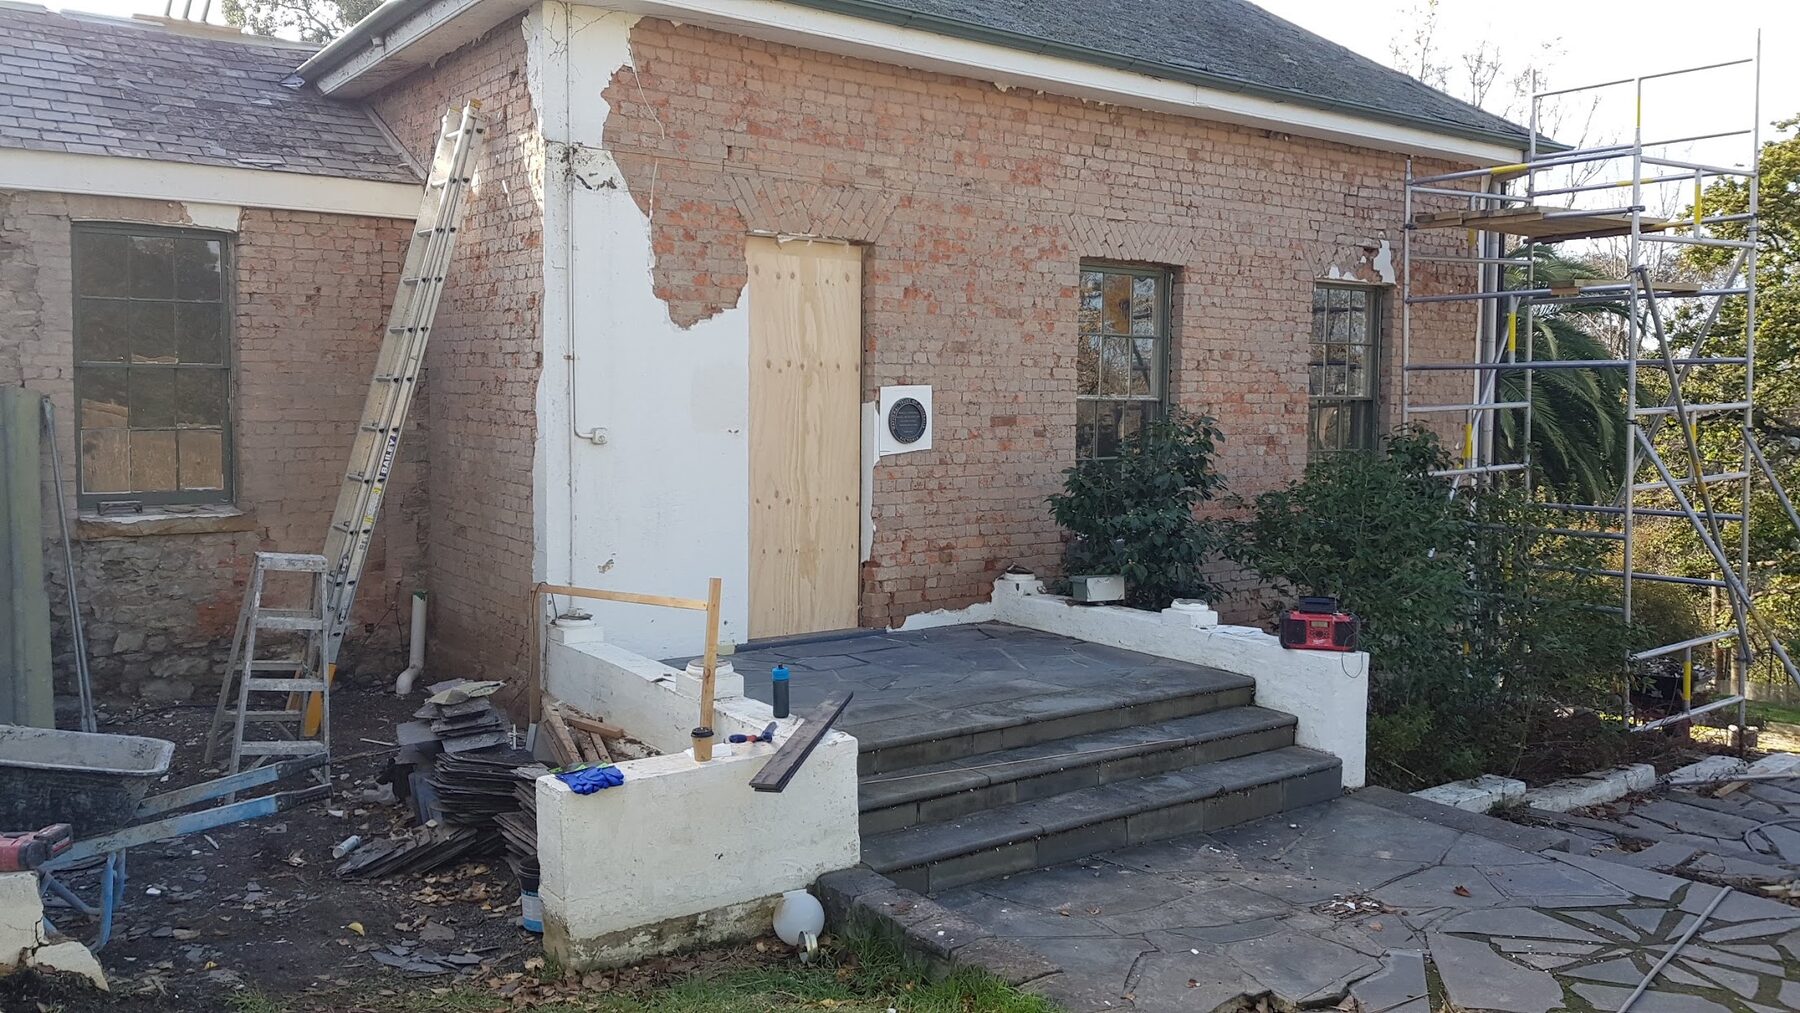
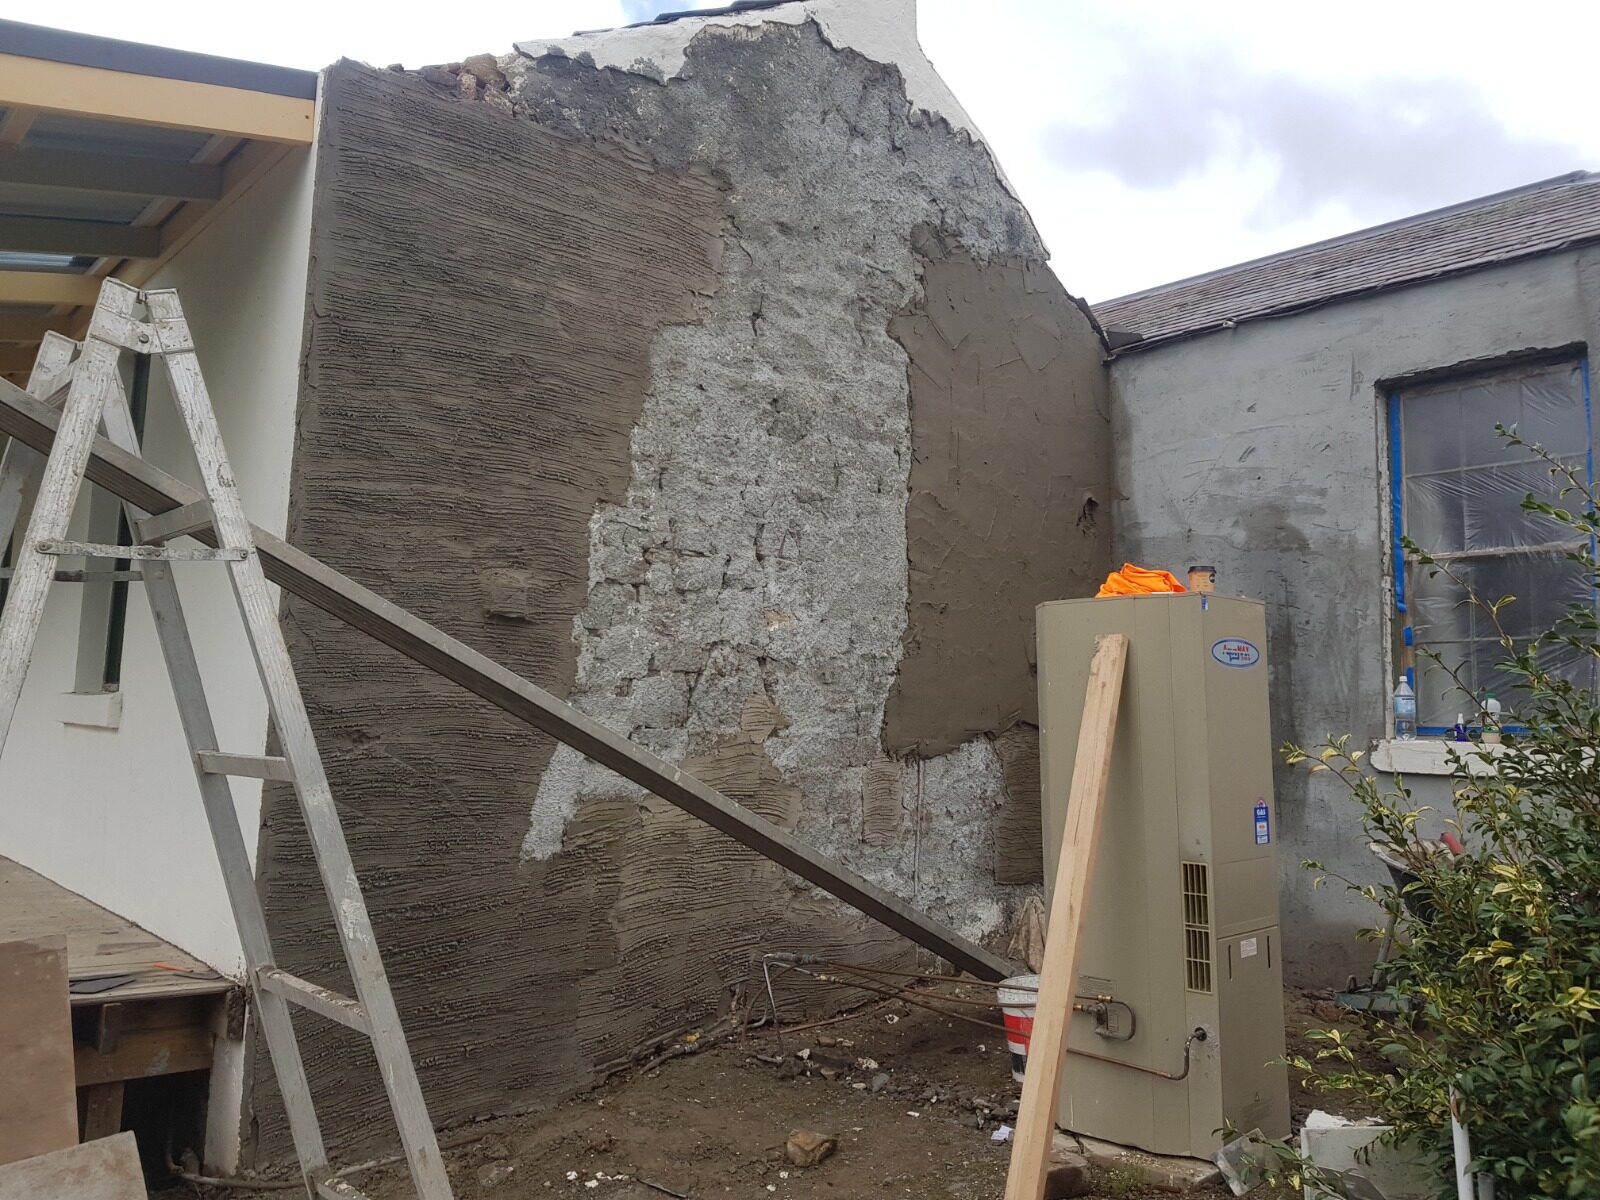
The failed render was taken off by hand rather than by machine. On 170-year-old stone and lime-jointed brickwork, aggressive mechanical removal takes the face of the masonry with it — so the work was done carefully, working around any sound sections and stopping at material worth keeping.
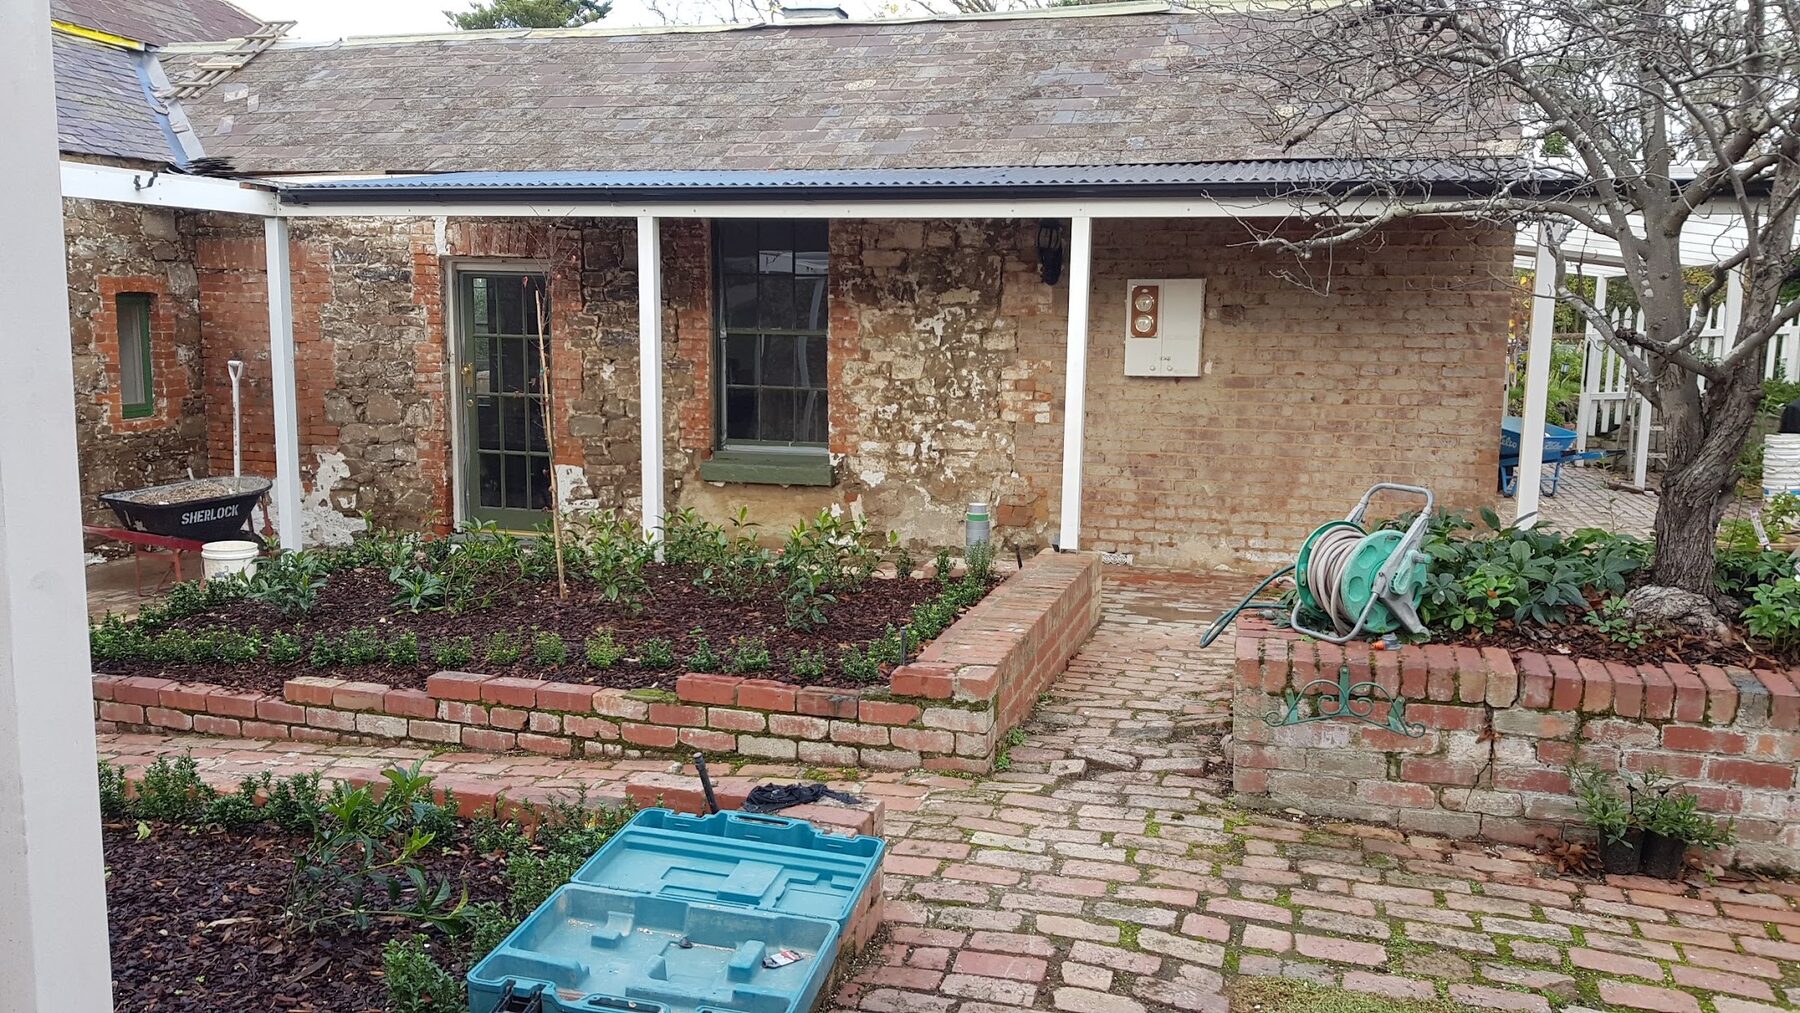
With the walls open, the construction read clearly: coursed stone in places, solid brickwork in others, and a patchwork of earlier repairs where openings had been altered over the building's life. Every one of those transitions is a differential-movement risk under a new render, and each had to be planned for.
Stripping also exposed the full extent of the damage at the base of the walls, which set the sequence for everything that followed.
04 — Substrate repairs
Repair the wall
before you coat it
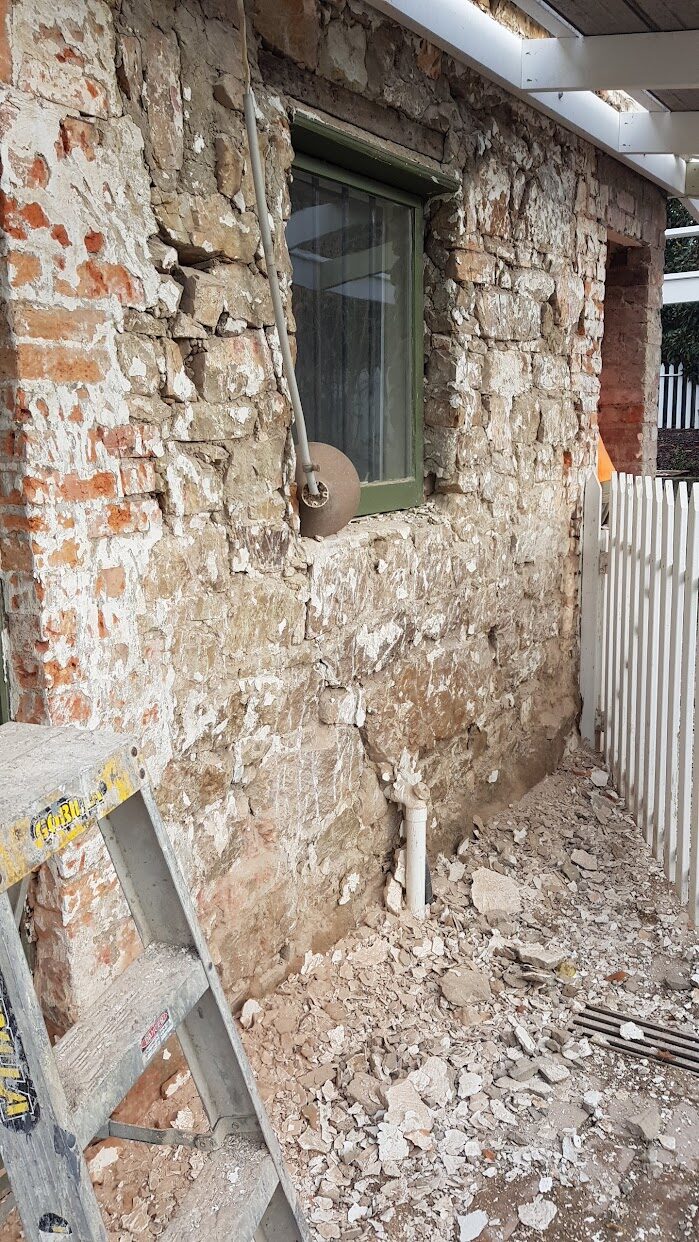
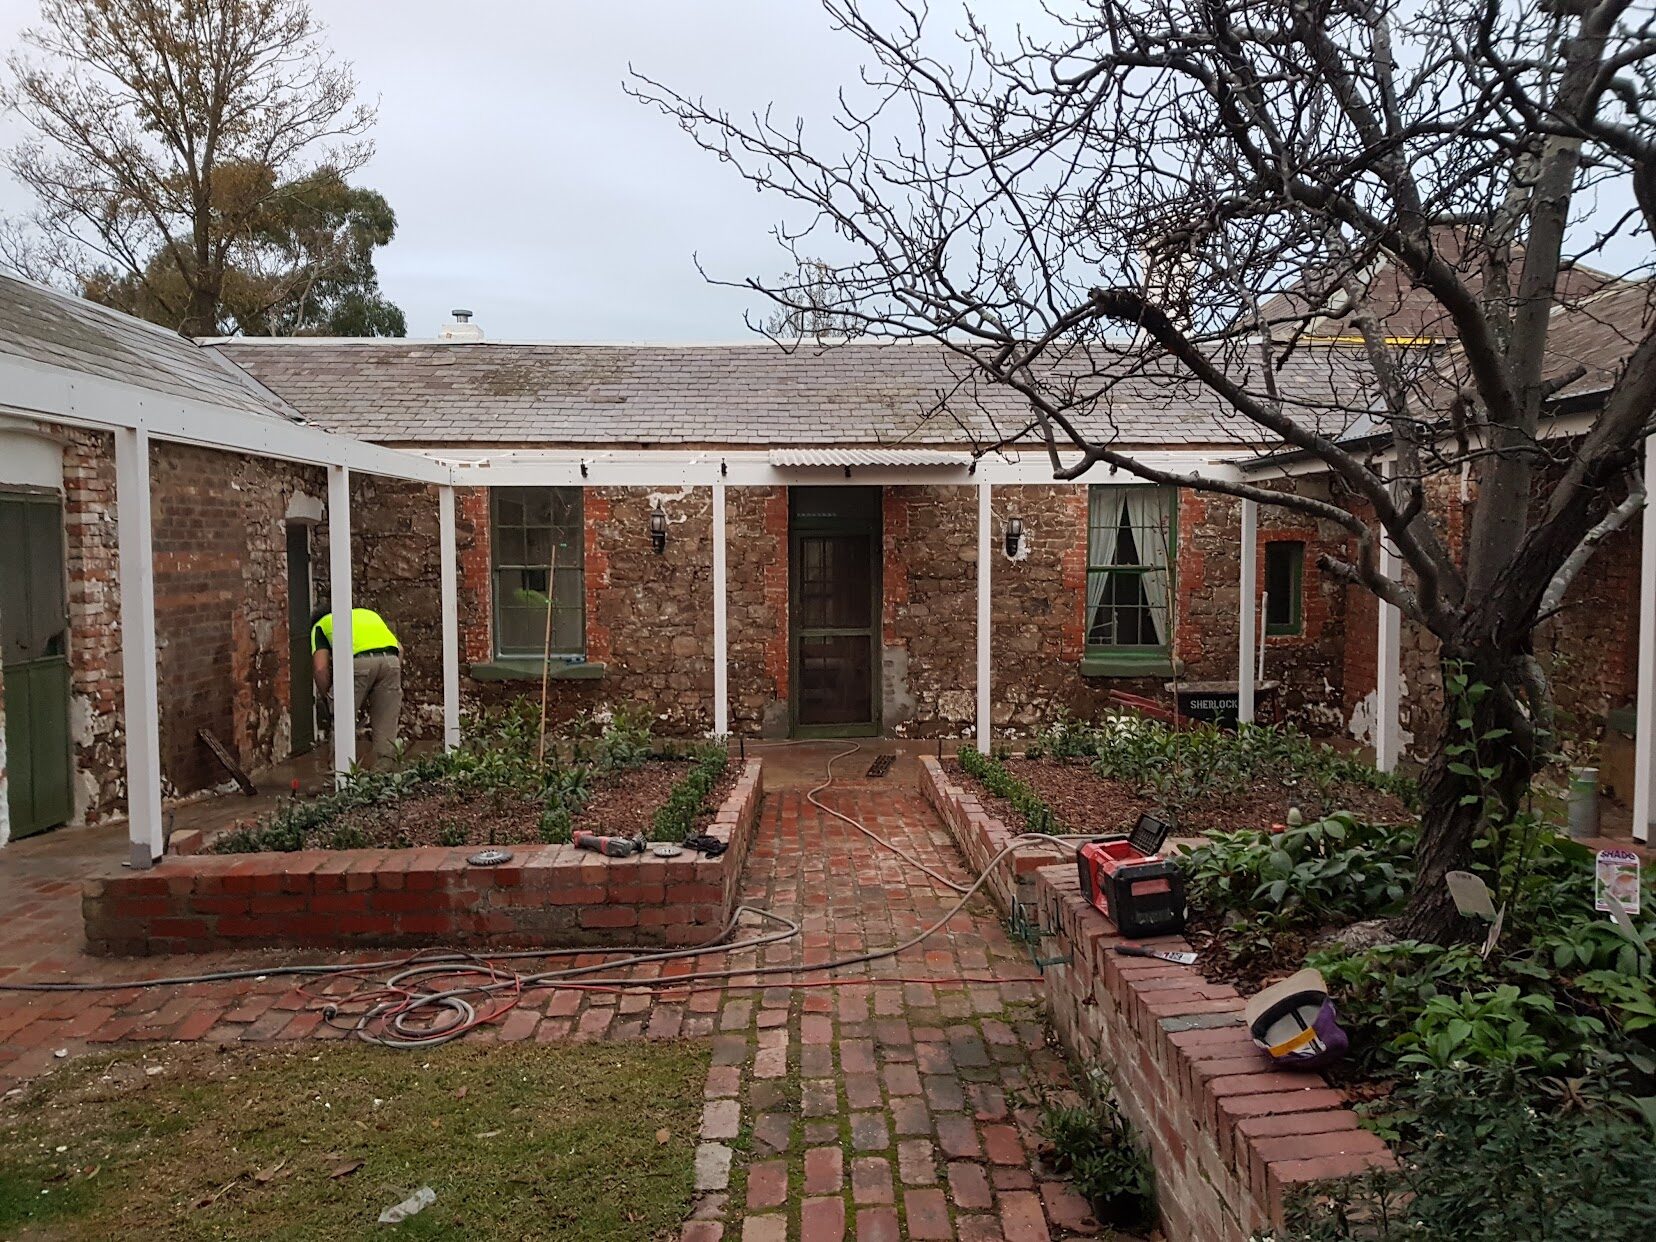
Eroded bed joints were raked out and repointed, loose and spalled units were cut out and replaced, and voids left by earlier alterations were built back so the wall presented one continuous plane. Render cannot bridge a moving or hollow background — it will map every defect within a few seasons.
A deteriorating window head was repaired with a reinforced galvanised steel lintel, with the brickwork above the opening relaid before the surrounding render was reinstated. That work had to be done before rendering, not after: a new coat over an unsupported head simply cracks along the line of the failure.
Localised patch repairs were then made across the elevations, bringing everything to a common level and keying the repairs into the retained substrate ready for the coating system.
05 — Rising damp treatment
Damp-proofing
at the lower perimeter
The lower perimeter of the property had a rising-damp issue. Injection points were drilled along the affected masonry and a damp-proofing treatment was injected into the wall before the render system was reinstated.
The treatment formed part of the broader restoration process, alongside substrate repairs and the replacement of the deteriorated render.
06 — The render system
Splash coat,
then build in coats
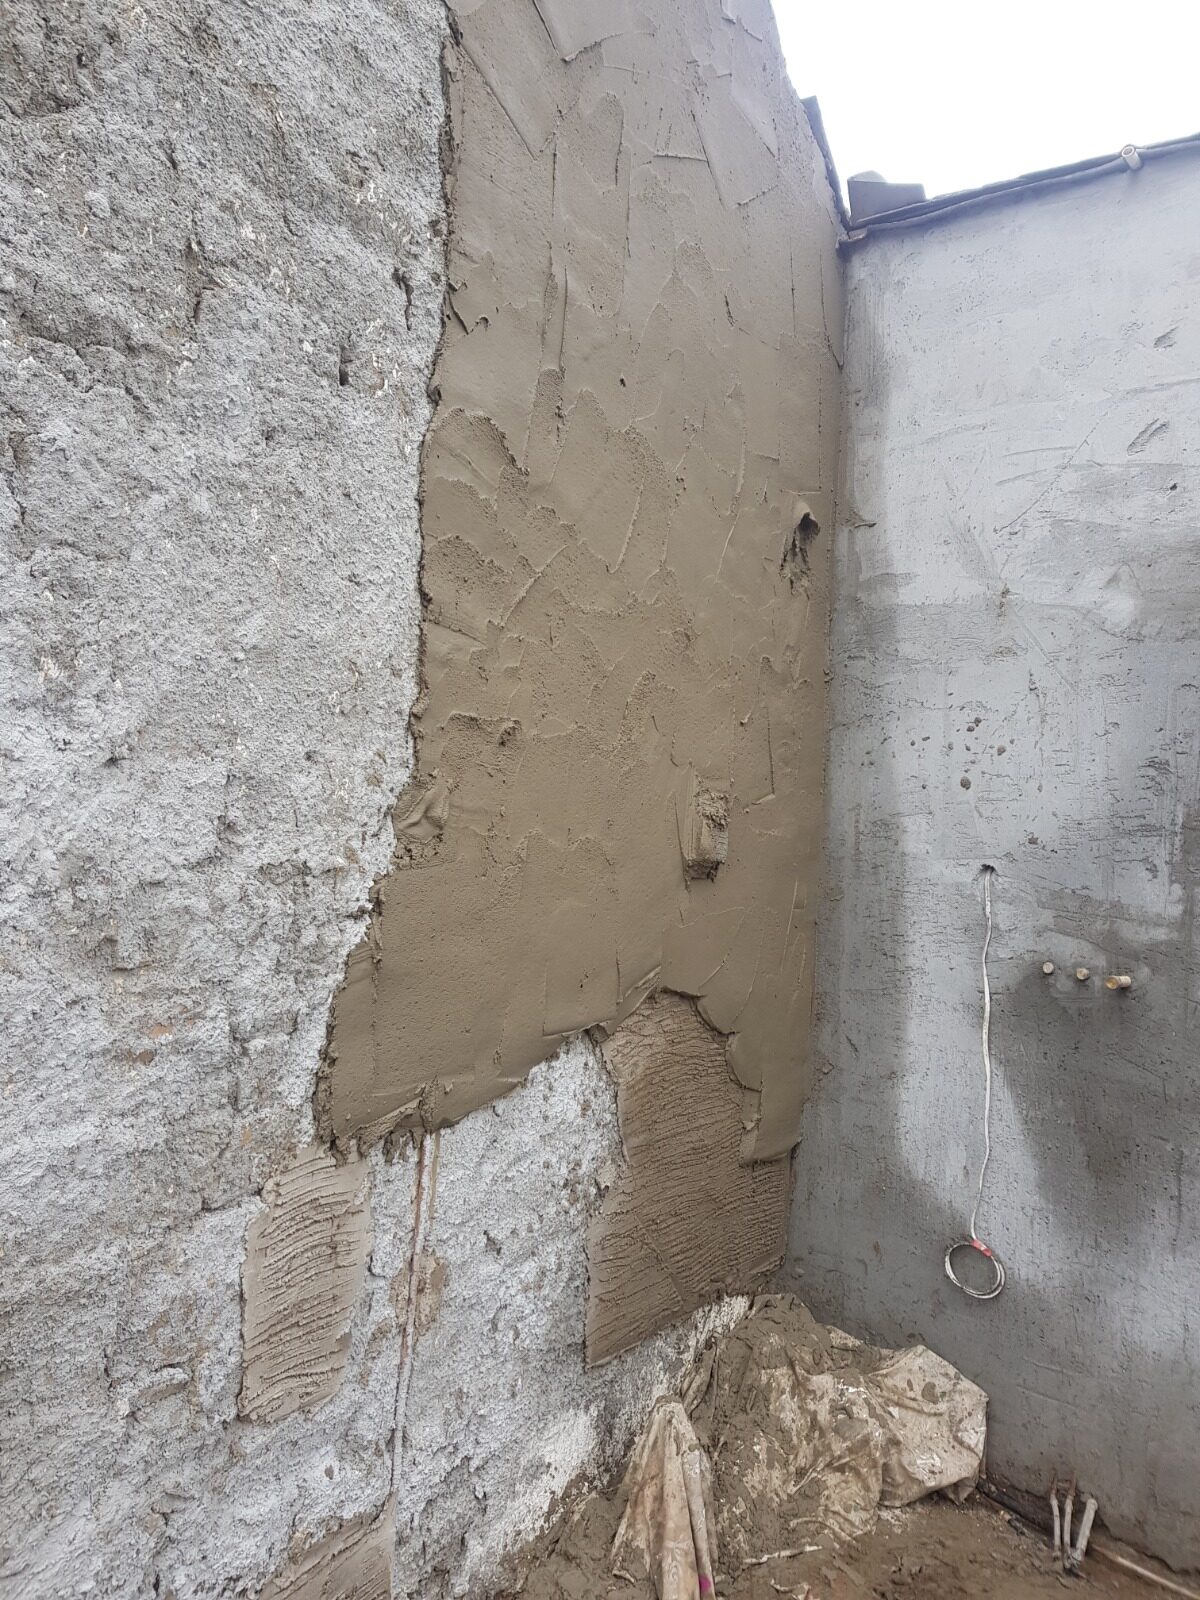
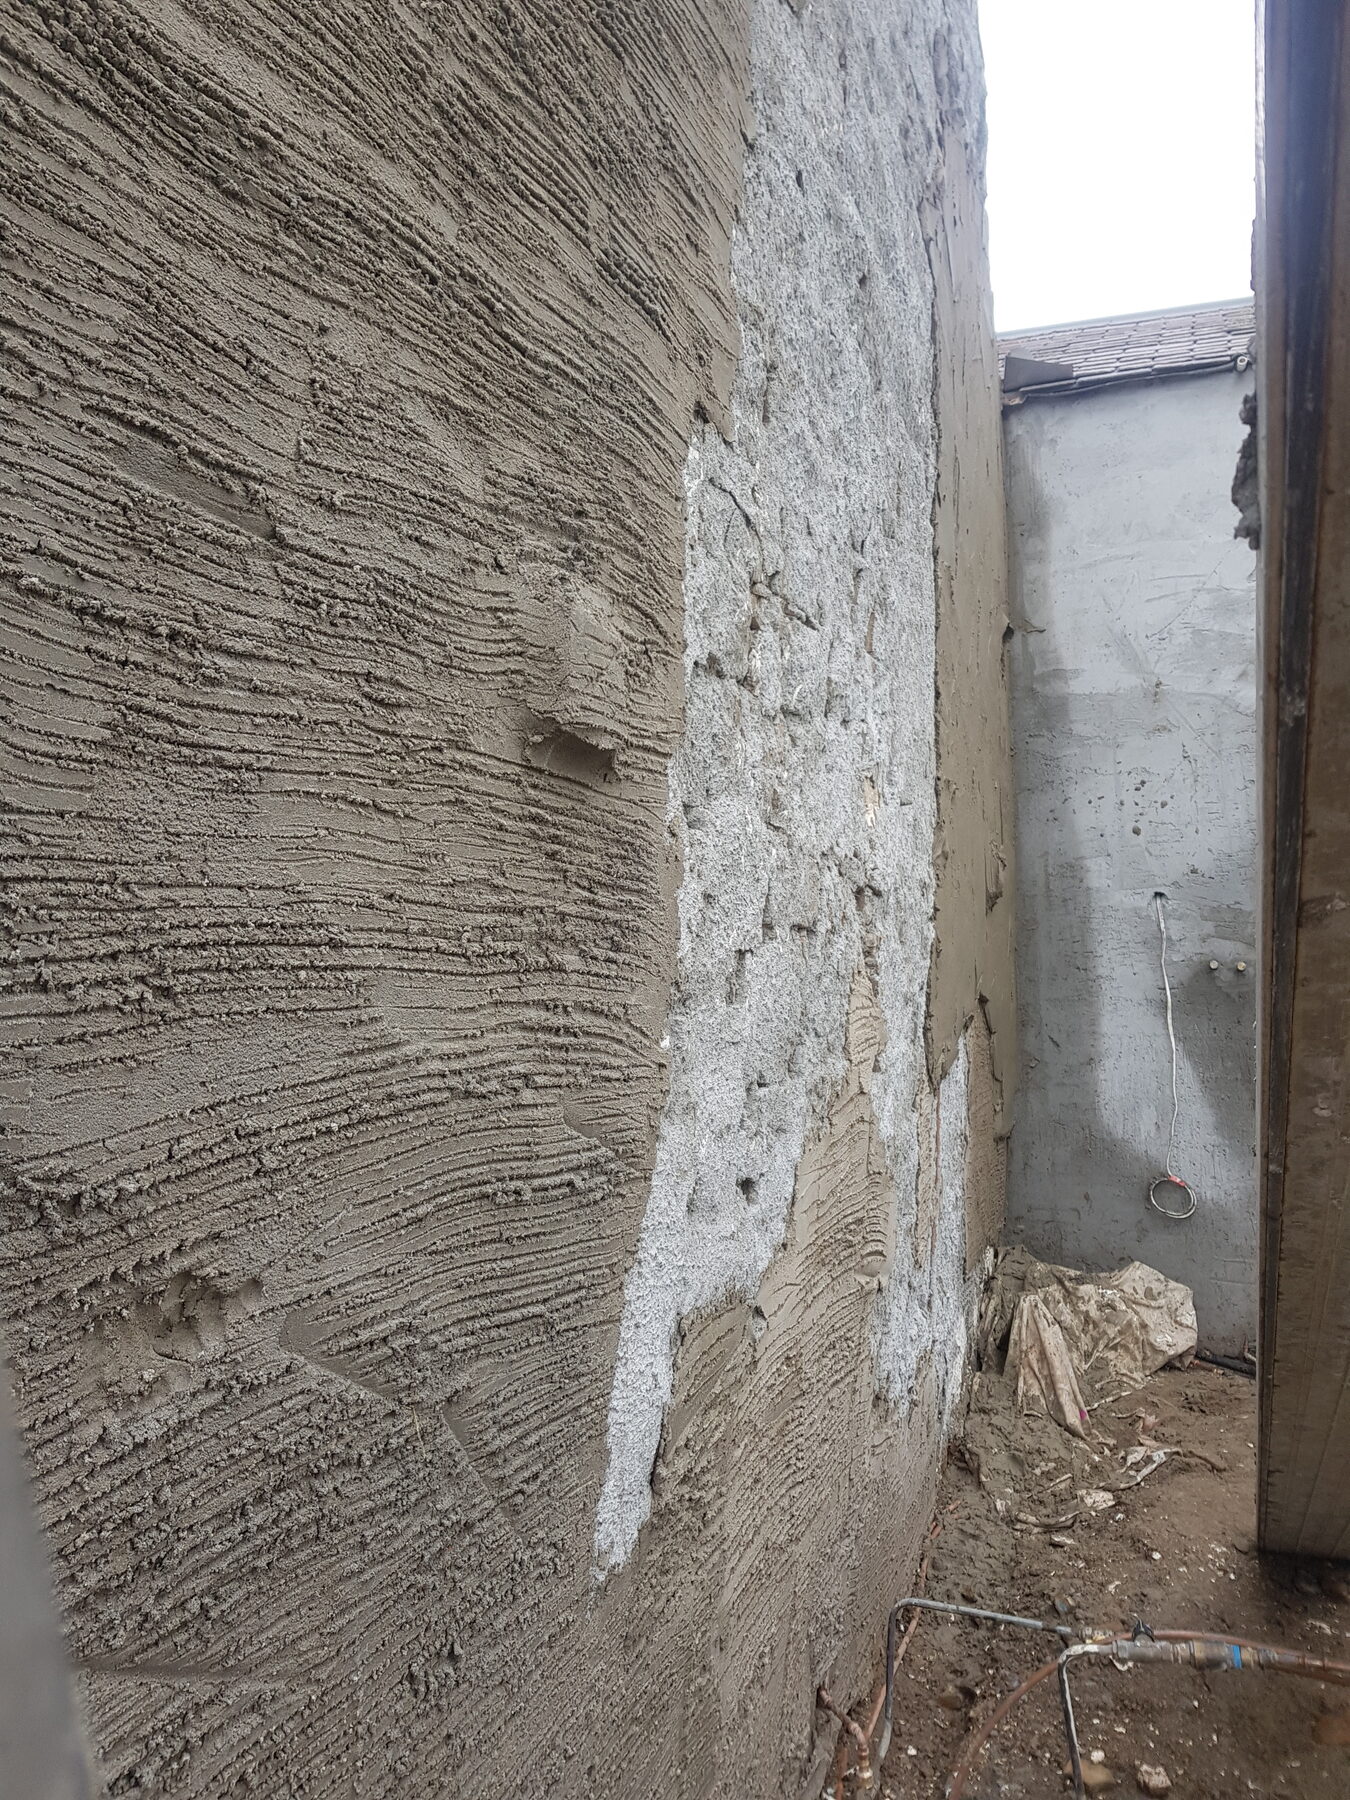
Each prepared elevation received a hand-applied sand-and-cement resin-based splash coat before the subsequent sand-and-cement render build. Thrown on and left deliberately coarse, it gives the render above a mechanical key on an irregular old substrate and evens out suction across stone and brick.
The splash coat was allowed to cure before anything went over it. Once it had, the render was built up in a sand-and-cement system, applied in coats rather than in one heavy pass so each layer could set before the next.
Fibreglass strands were incorporated into the sand-and-cement render as reinforcement within the reinstated render system, helping distribute movement through the render rather than concentrating it into a single line.
07 — Setting out and finishing
Straight lines
on an old building
Nothing on a c1855 homestead is square. Reveals, returns, gable ends and verandah junctions were set out and built to read straight to the eye while still following the building's own geometry — chasing a perfect level on walls like these only makes the deviation more obvious elsewhere.
The final coat was brought to a sponge float finish: an even, fine-grained texture that suits the period, holds a traditional appearance close up, and gives paint or a breathable coating a consistent surface to sit on.
It is the same sequence we use on heritage rendering work across Melbourne — sound substrate first, then a system that suits the wall rather than the calendar.
08 — The completed homestead
A facade that
sheds water again
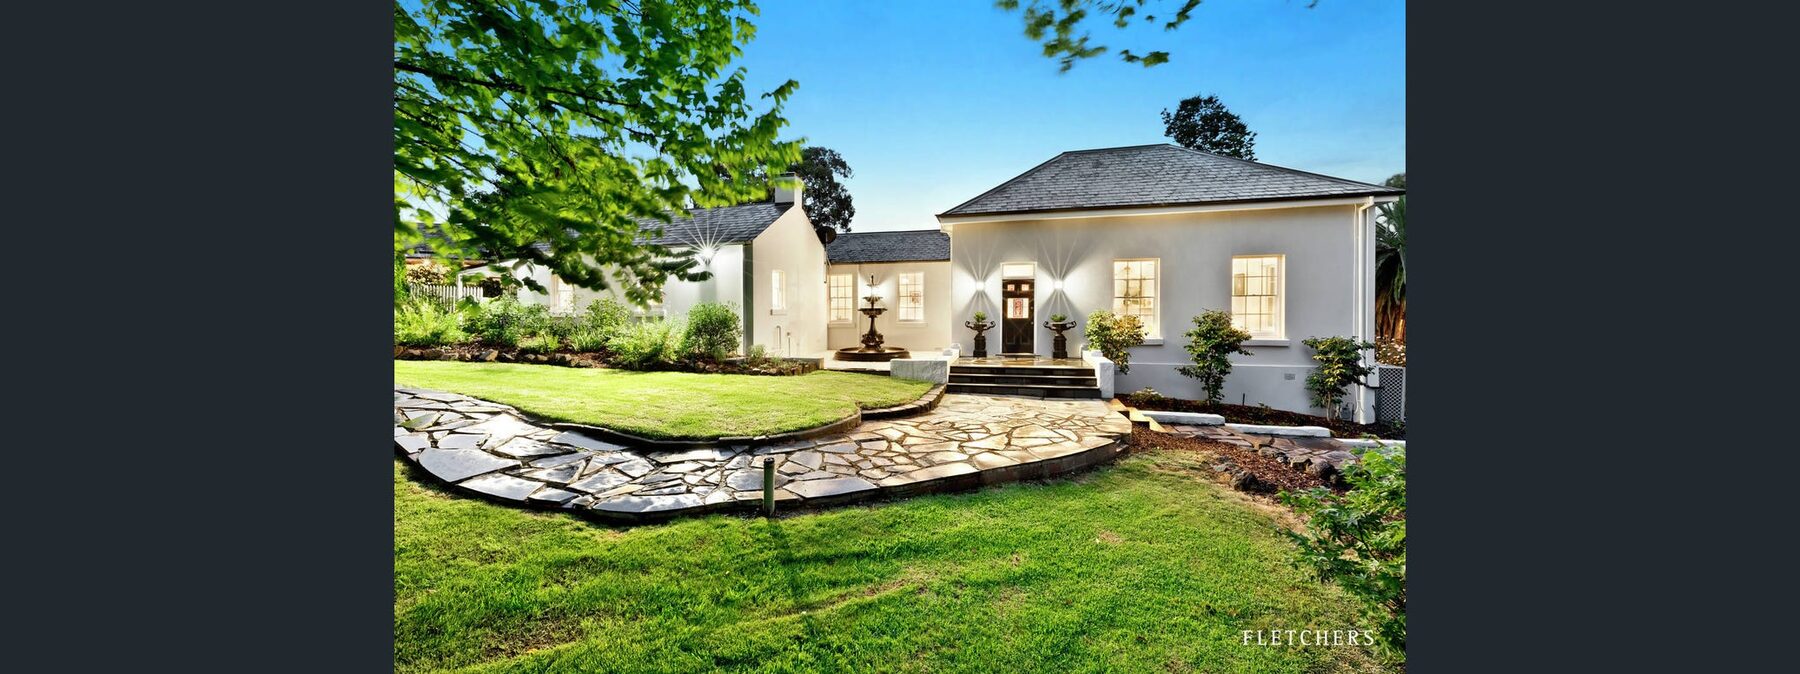
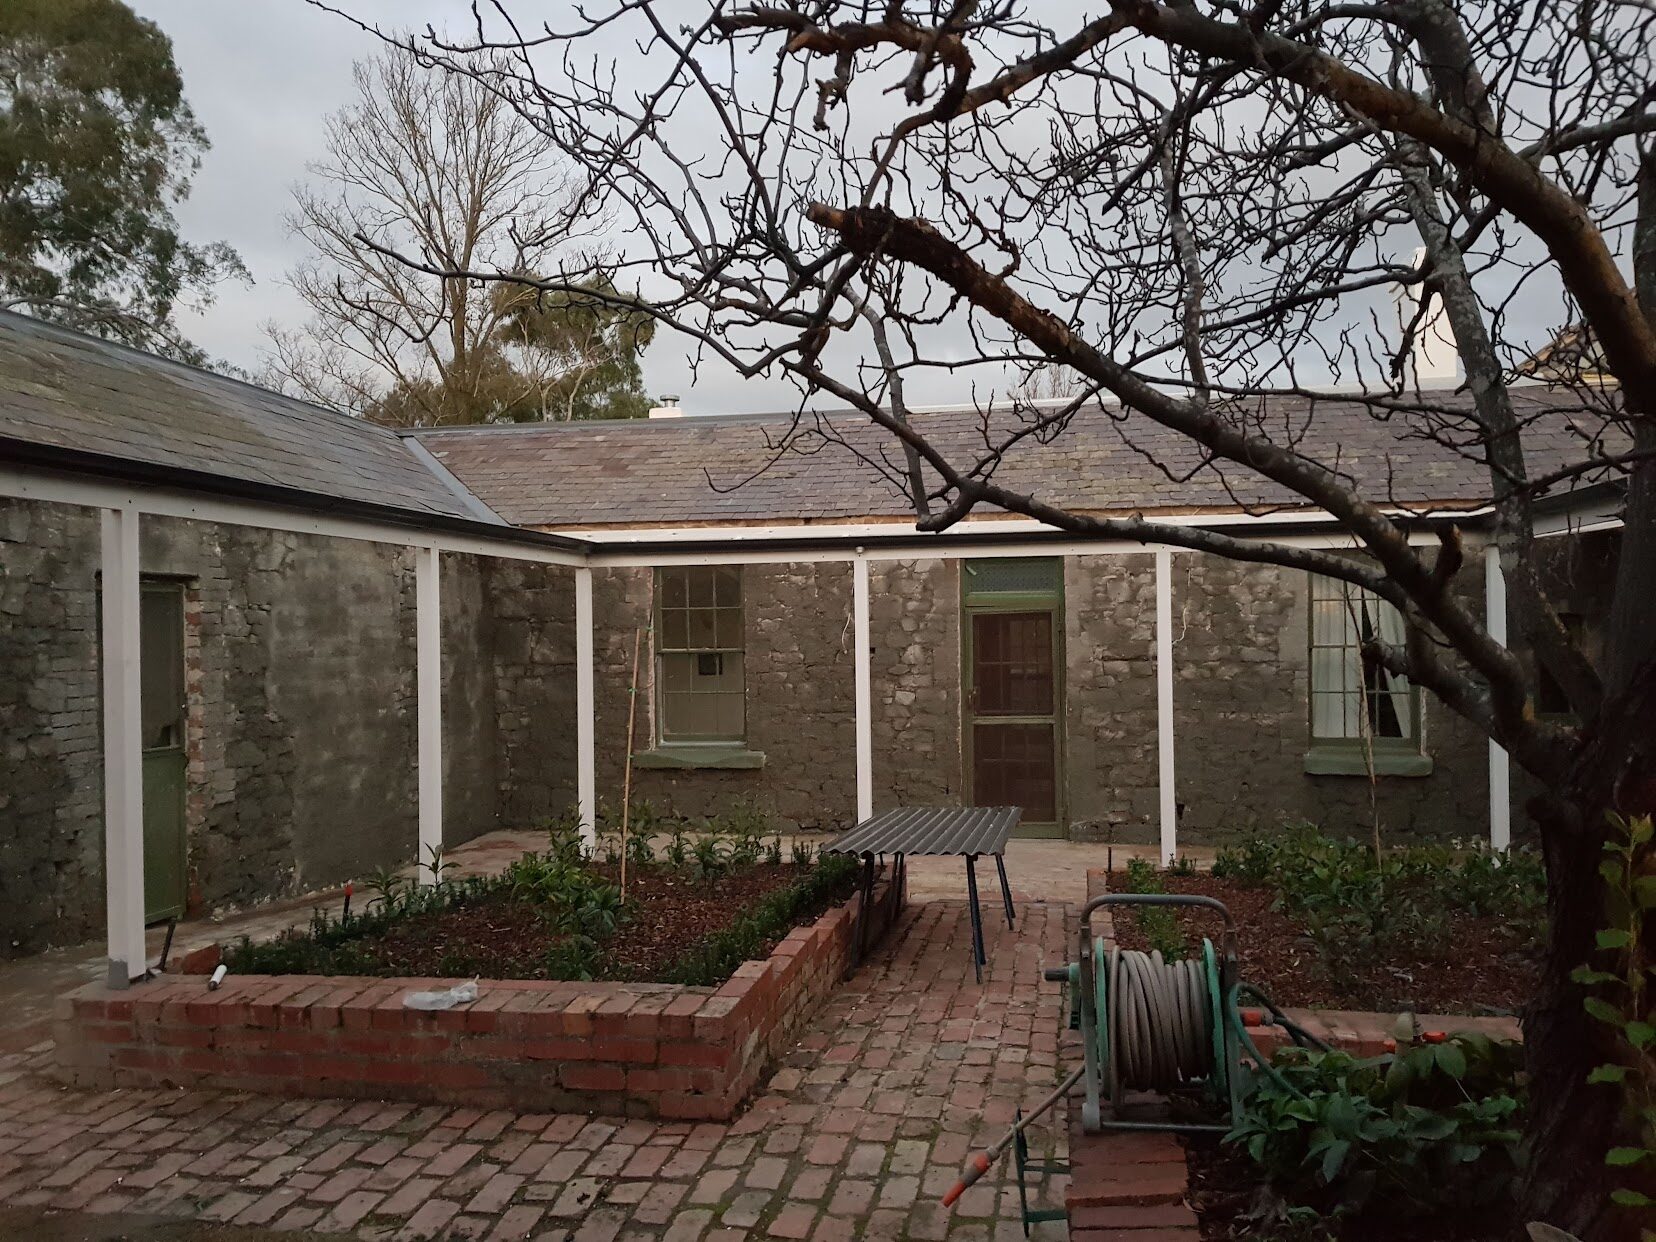
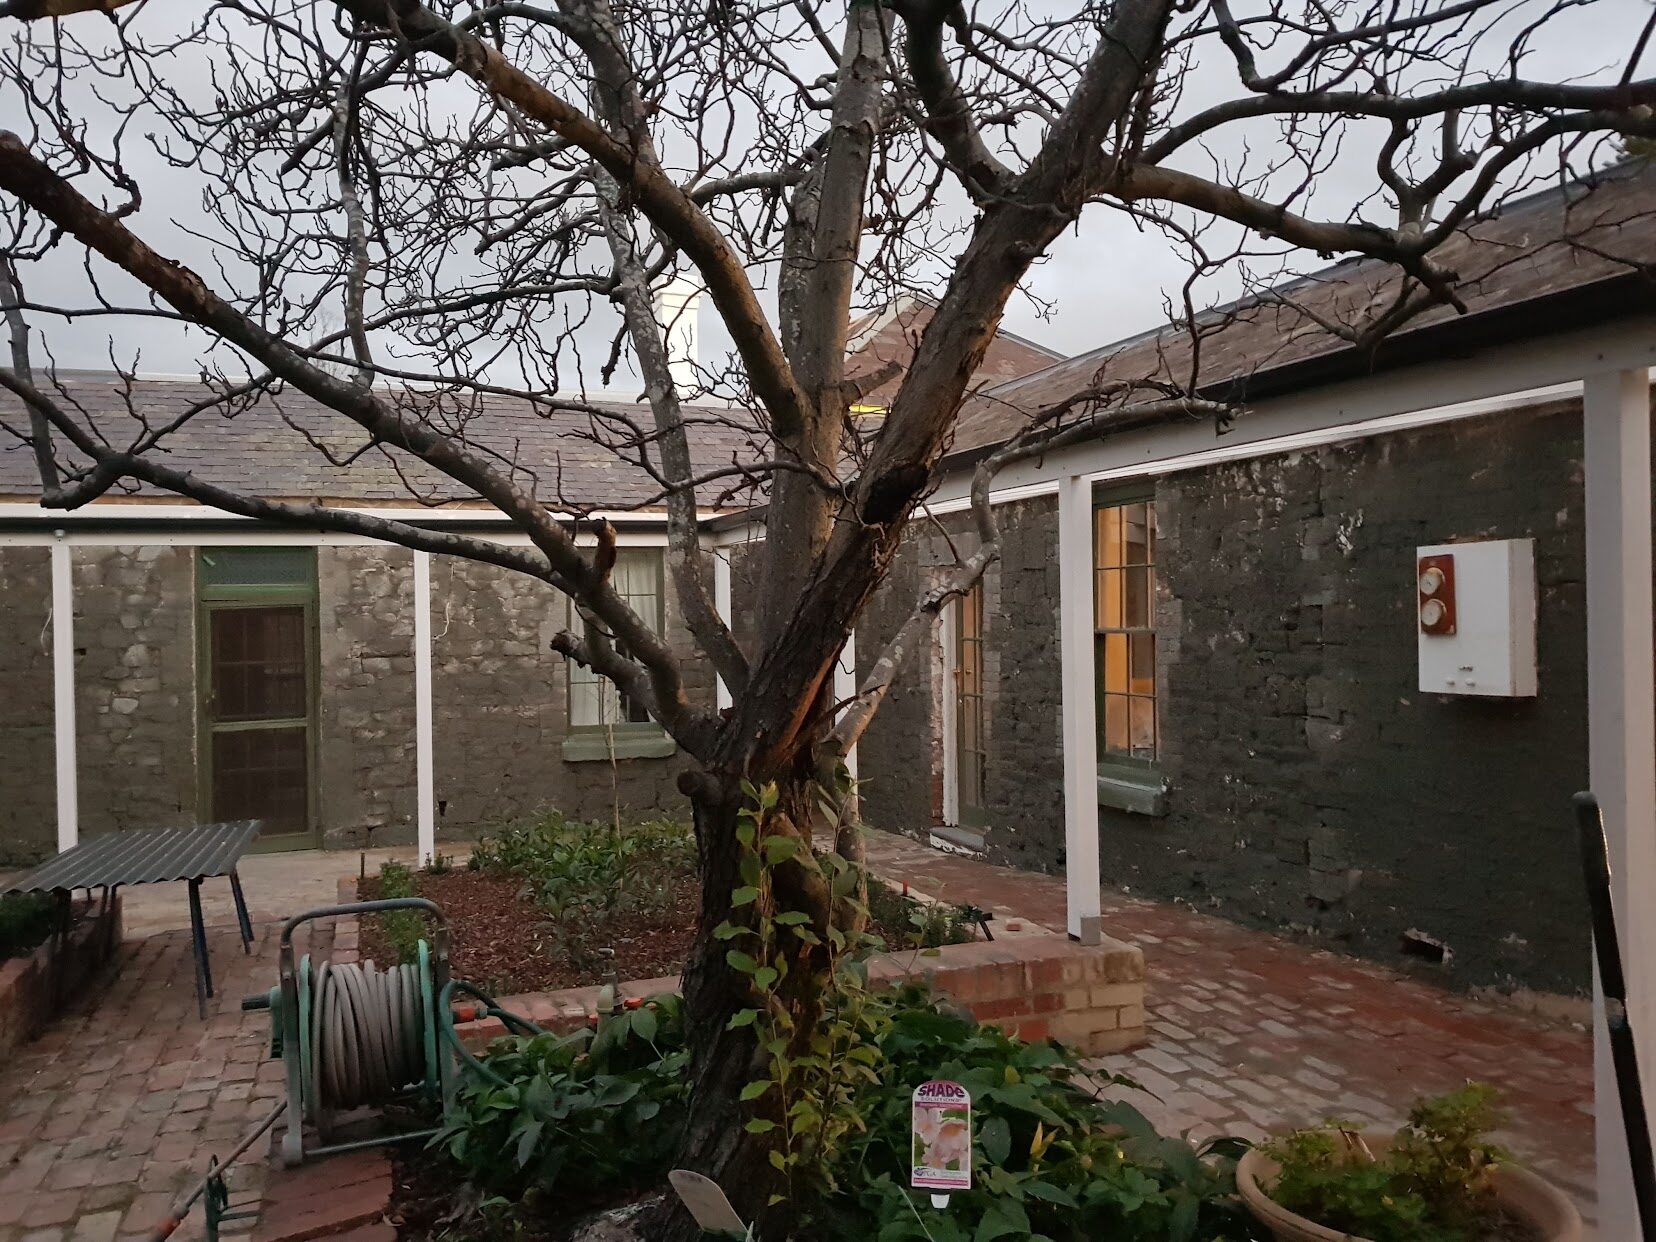
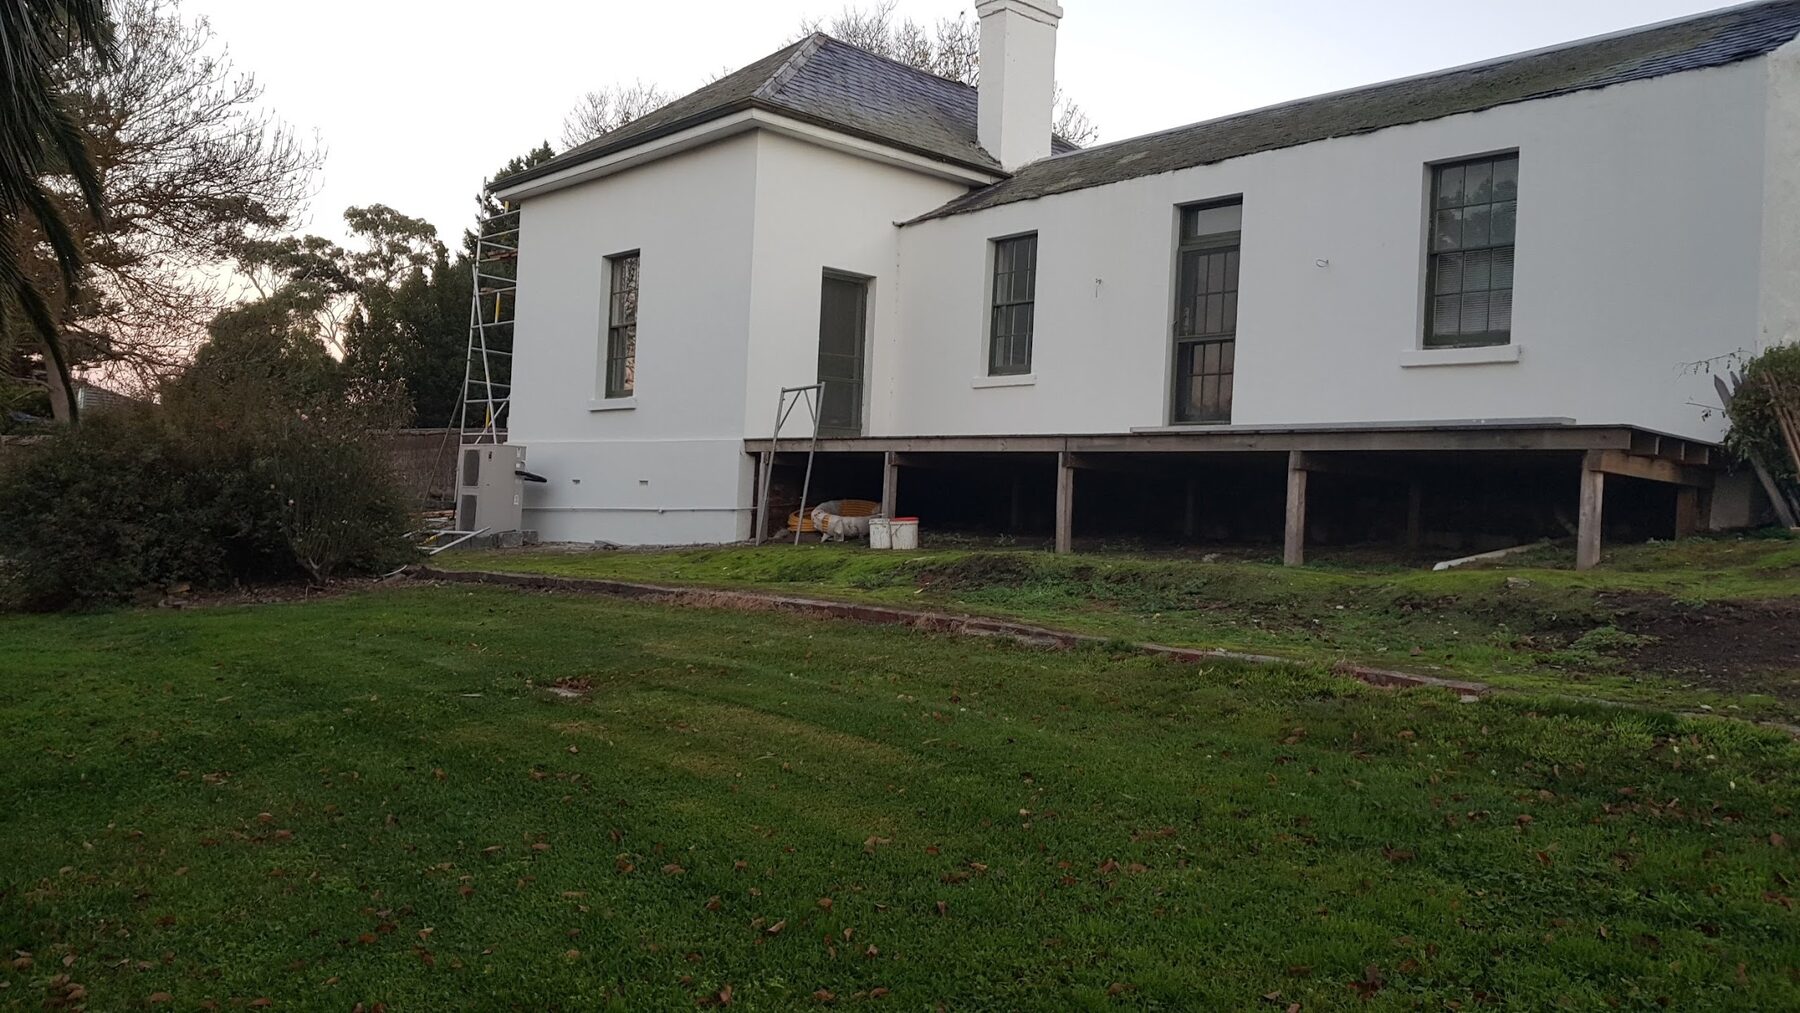
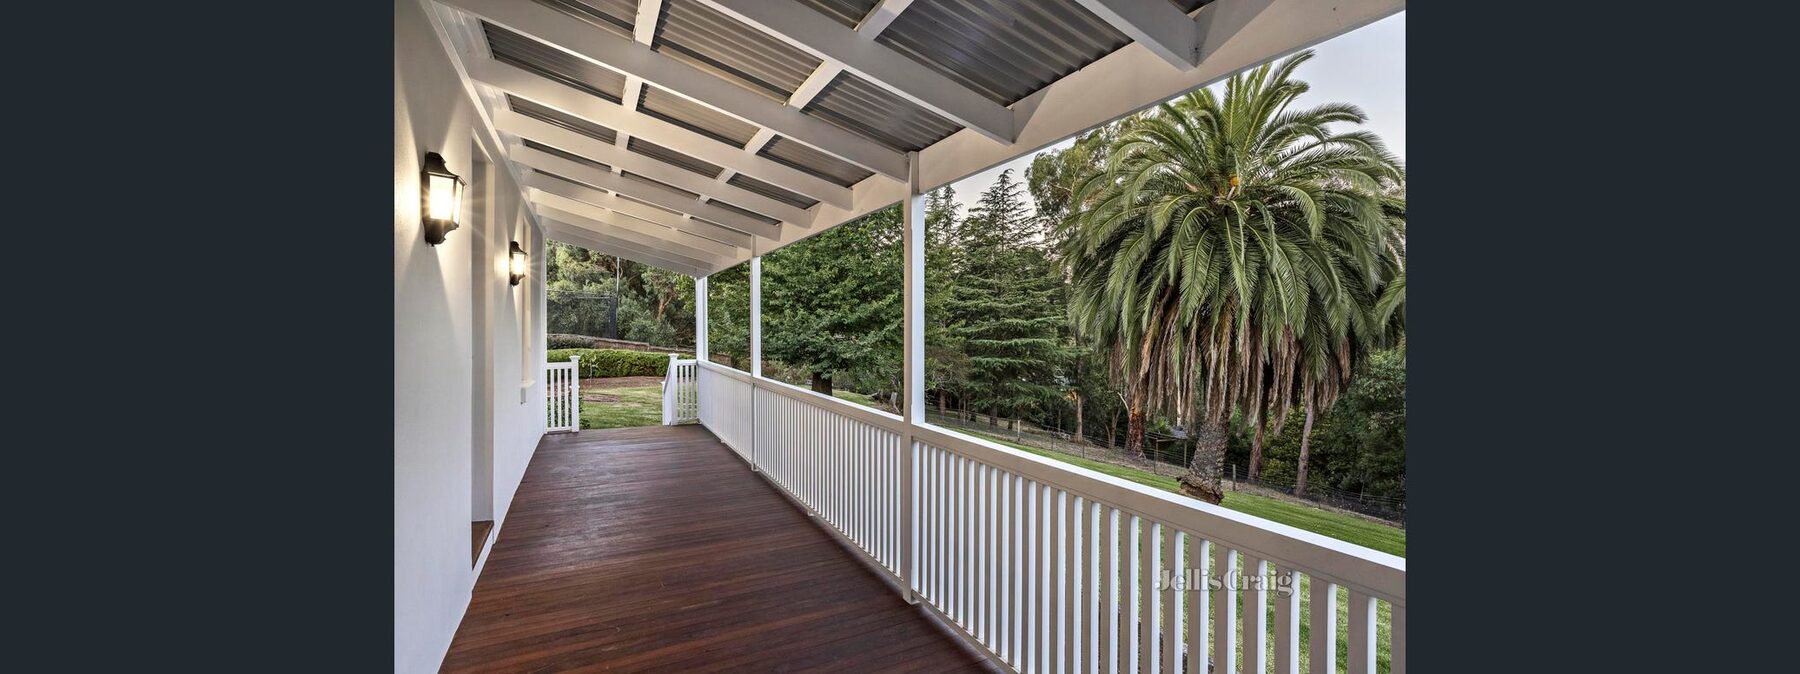
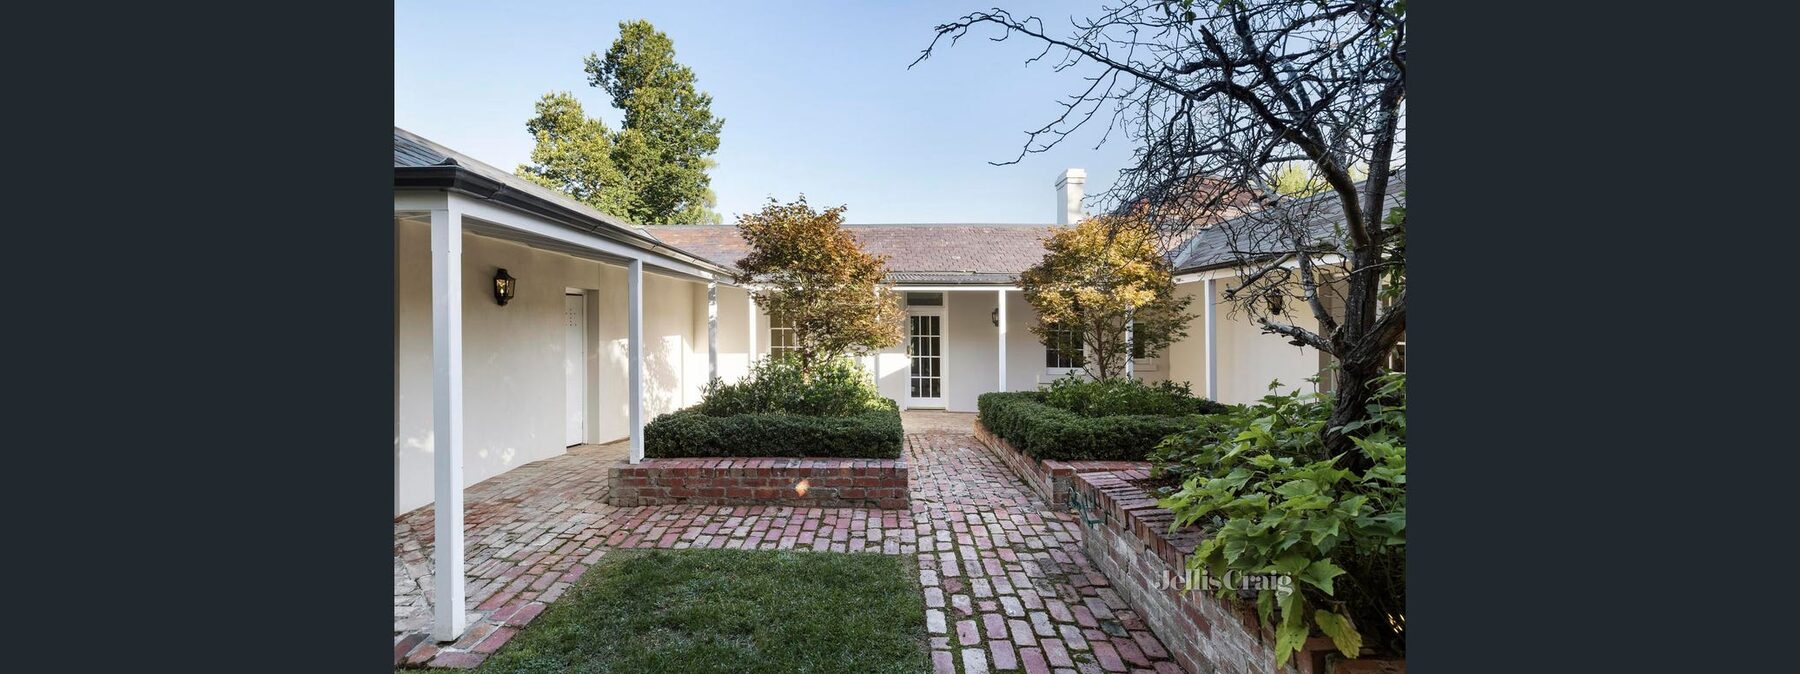
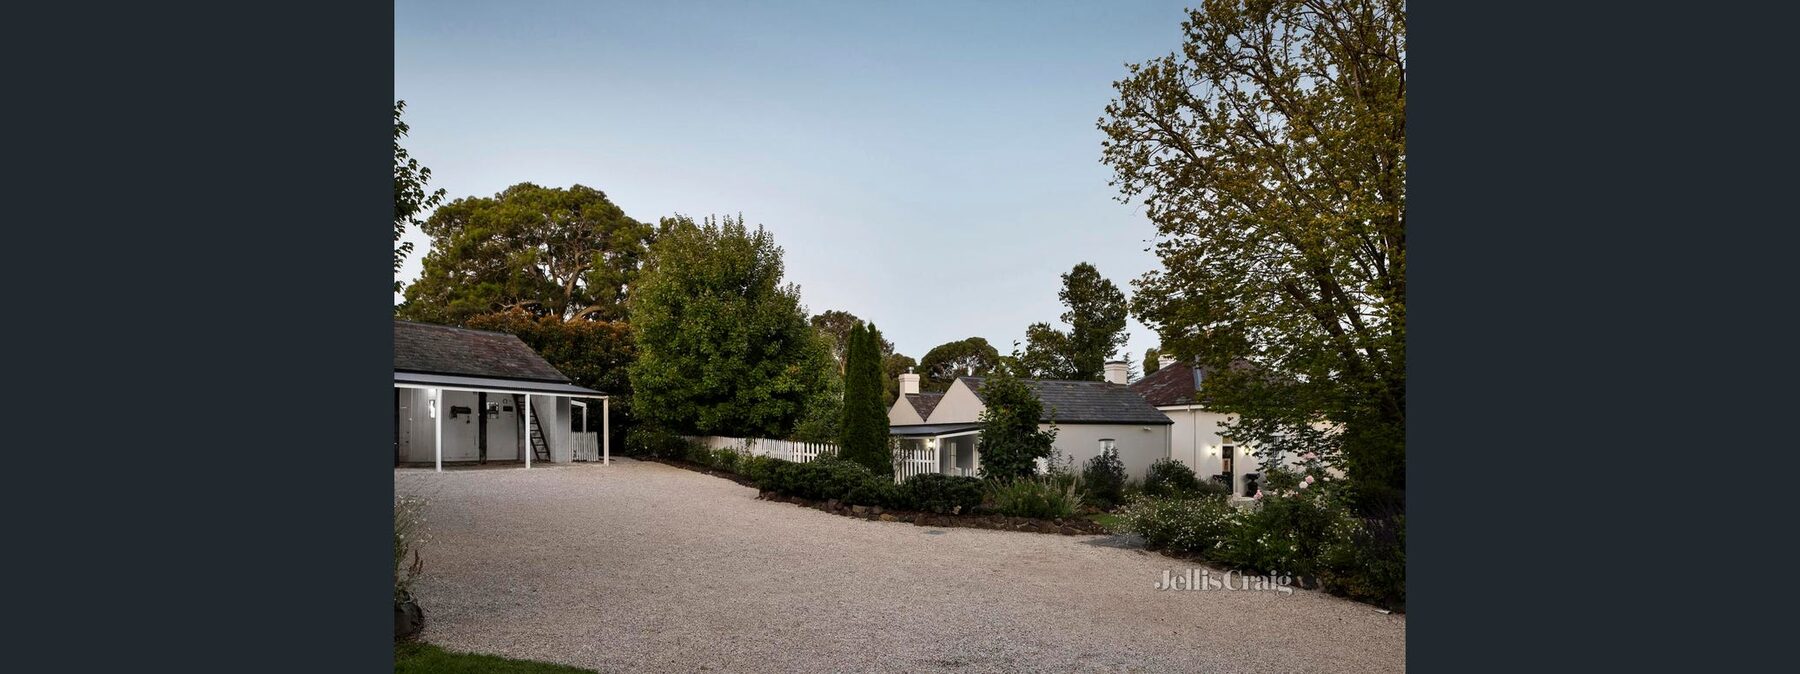
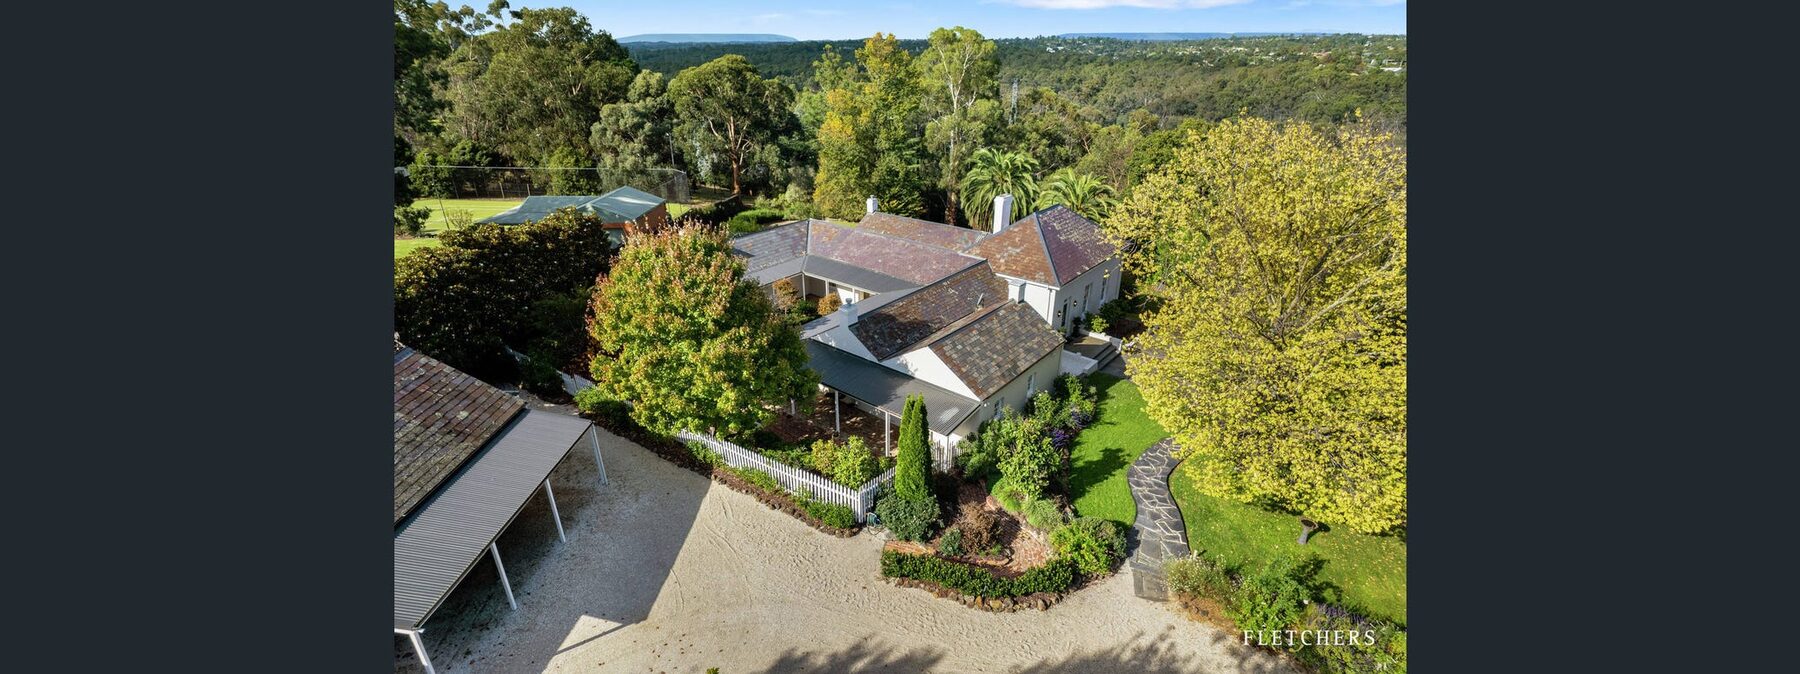
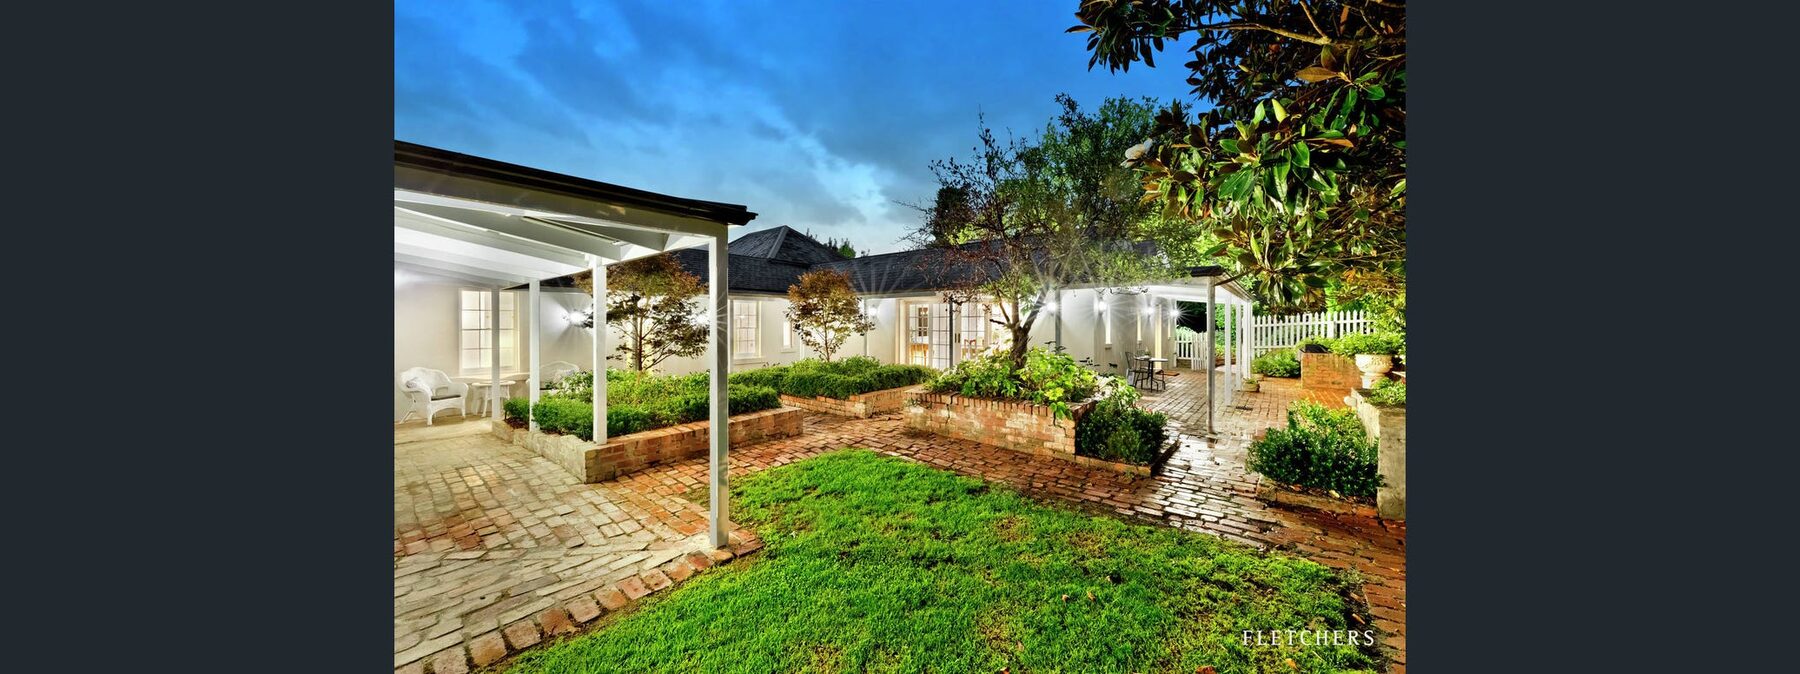
The completed elevations read as one continuous surface — repairs, transitions and the rebuilt window head all disappear into the render, with the damp-proofing treatment and substrate repairs resolved underneath it.
The completion photographs below were taken for the property's later sale campaign and are reproduced here to show the finished result; they are not Invision Rendering photography.
09 — Why the process mattered
Heritage render is
a moisture decision
Almost every failed render we are called to on an older building comes back to water. Cover it over and the new render tends to fail in the same places, because the cause was never dealt with.
At Rosehill the order of operations was the whole job — strip, assess, repair the masonry, repair the failed window head, treat the rising damp, then key and build the render. It is slower, and it is how a historic building gets a facade that lasts, whether the work is remedial render repair or a full cement render rebuild.
Related services
Rendering services
behind this project
Heritage render
failing on your building?
Send photos of the affected walls and the address. We will sound the render, assess the substrate and damp, and come back with a written itemised quote.