Project overview
Fixing the cause,
not just the crack
- Location
- South Morang, VIC
- Project type
- Remedial rendering and facade restoration
- Primary services
- Render removal and repair, substrate preparation, crack remediation, acrylic rendering, textured finish, protective coating
- Project challenge
- Cracked and poorly bonded cement render, movement cracking at an external brick corner, and a front portico requiring reconstruction
01 — The challenge
Cracked, drummy
and poorly bonded
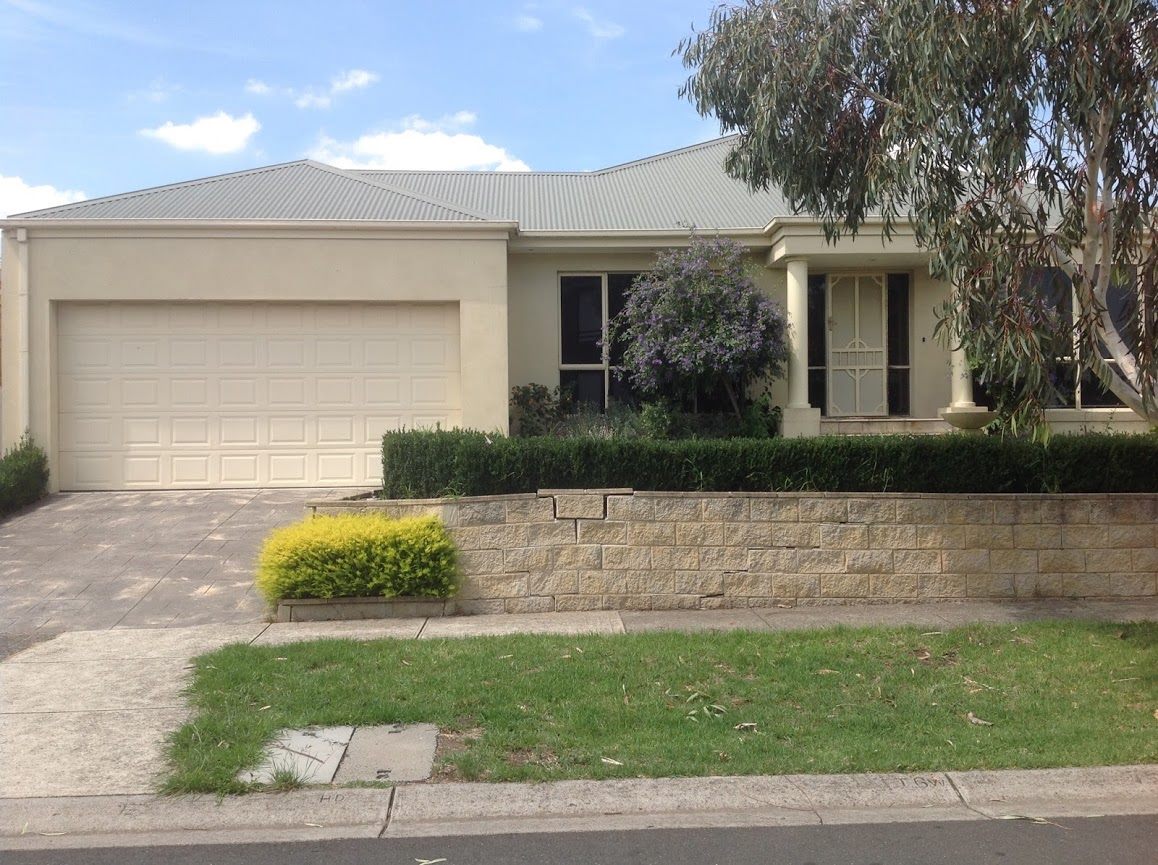
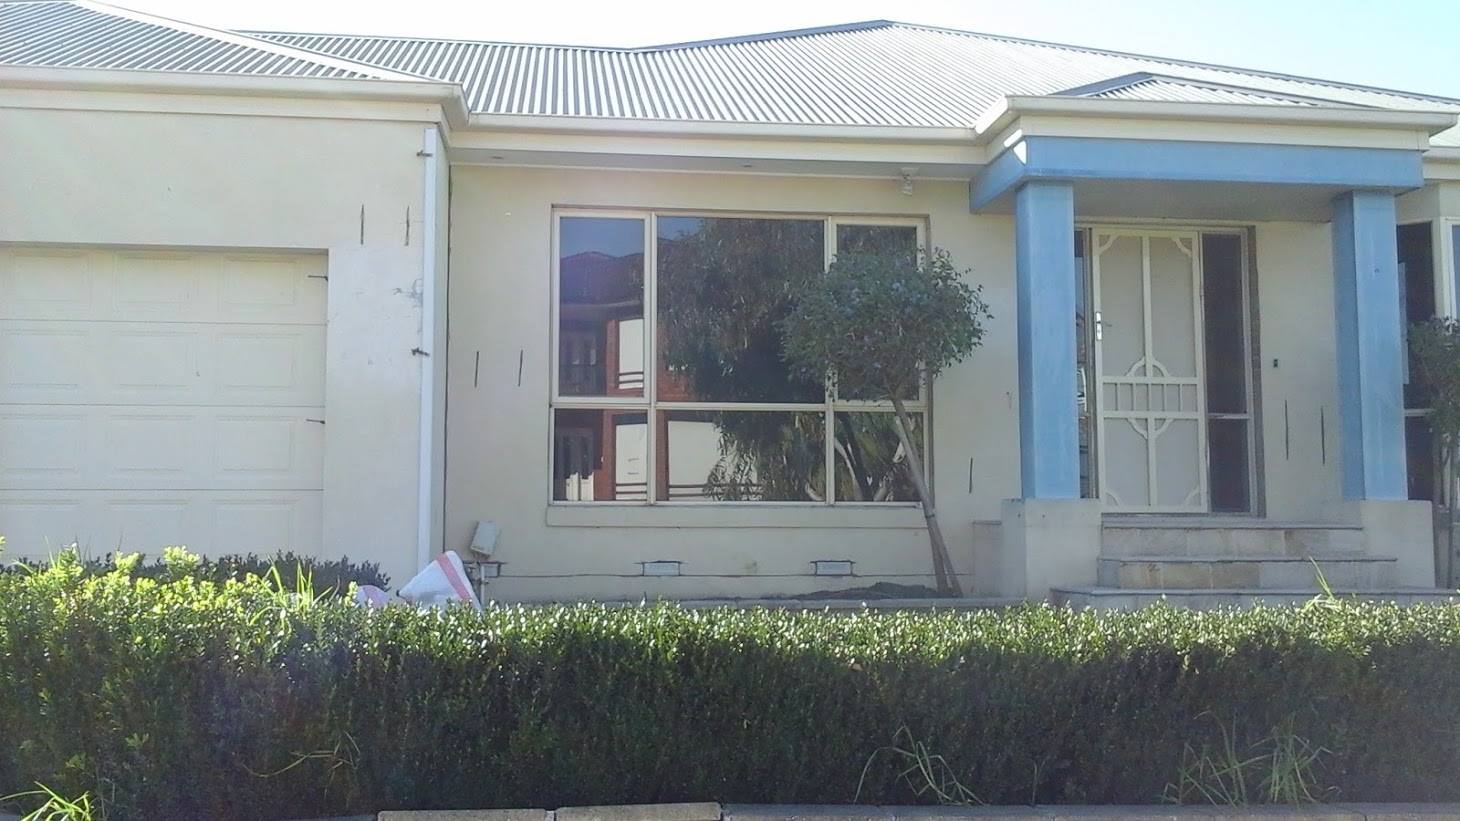
The existing cement-based render had cracked in several places and lost adhesion to the brickwork behind it. Some areas were drummy, some had begun to delaminate, and cracking around openings and at an external corner pointed to movement rather than surface wear.
The front portico had also deteriorated to the point where the pillars needed removing and the structure rebuilding before any new render could be applied. Movement joints were either missing or filled, which left the render nowhere to go.
Recoating over that would have been a short-term result at best. The starting point had to be the substrate.
02 — Assessment & preparation
Sounded, stripped
and prepared
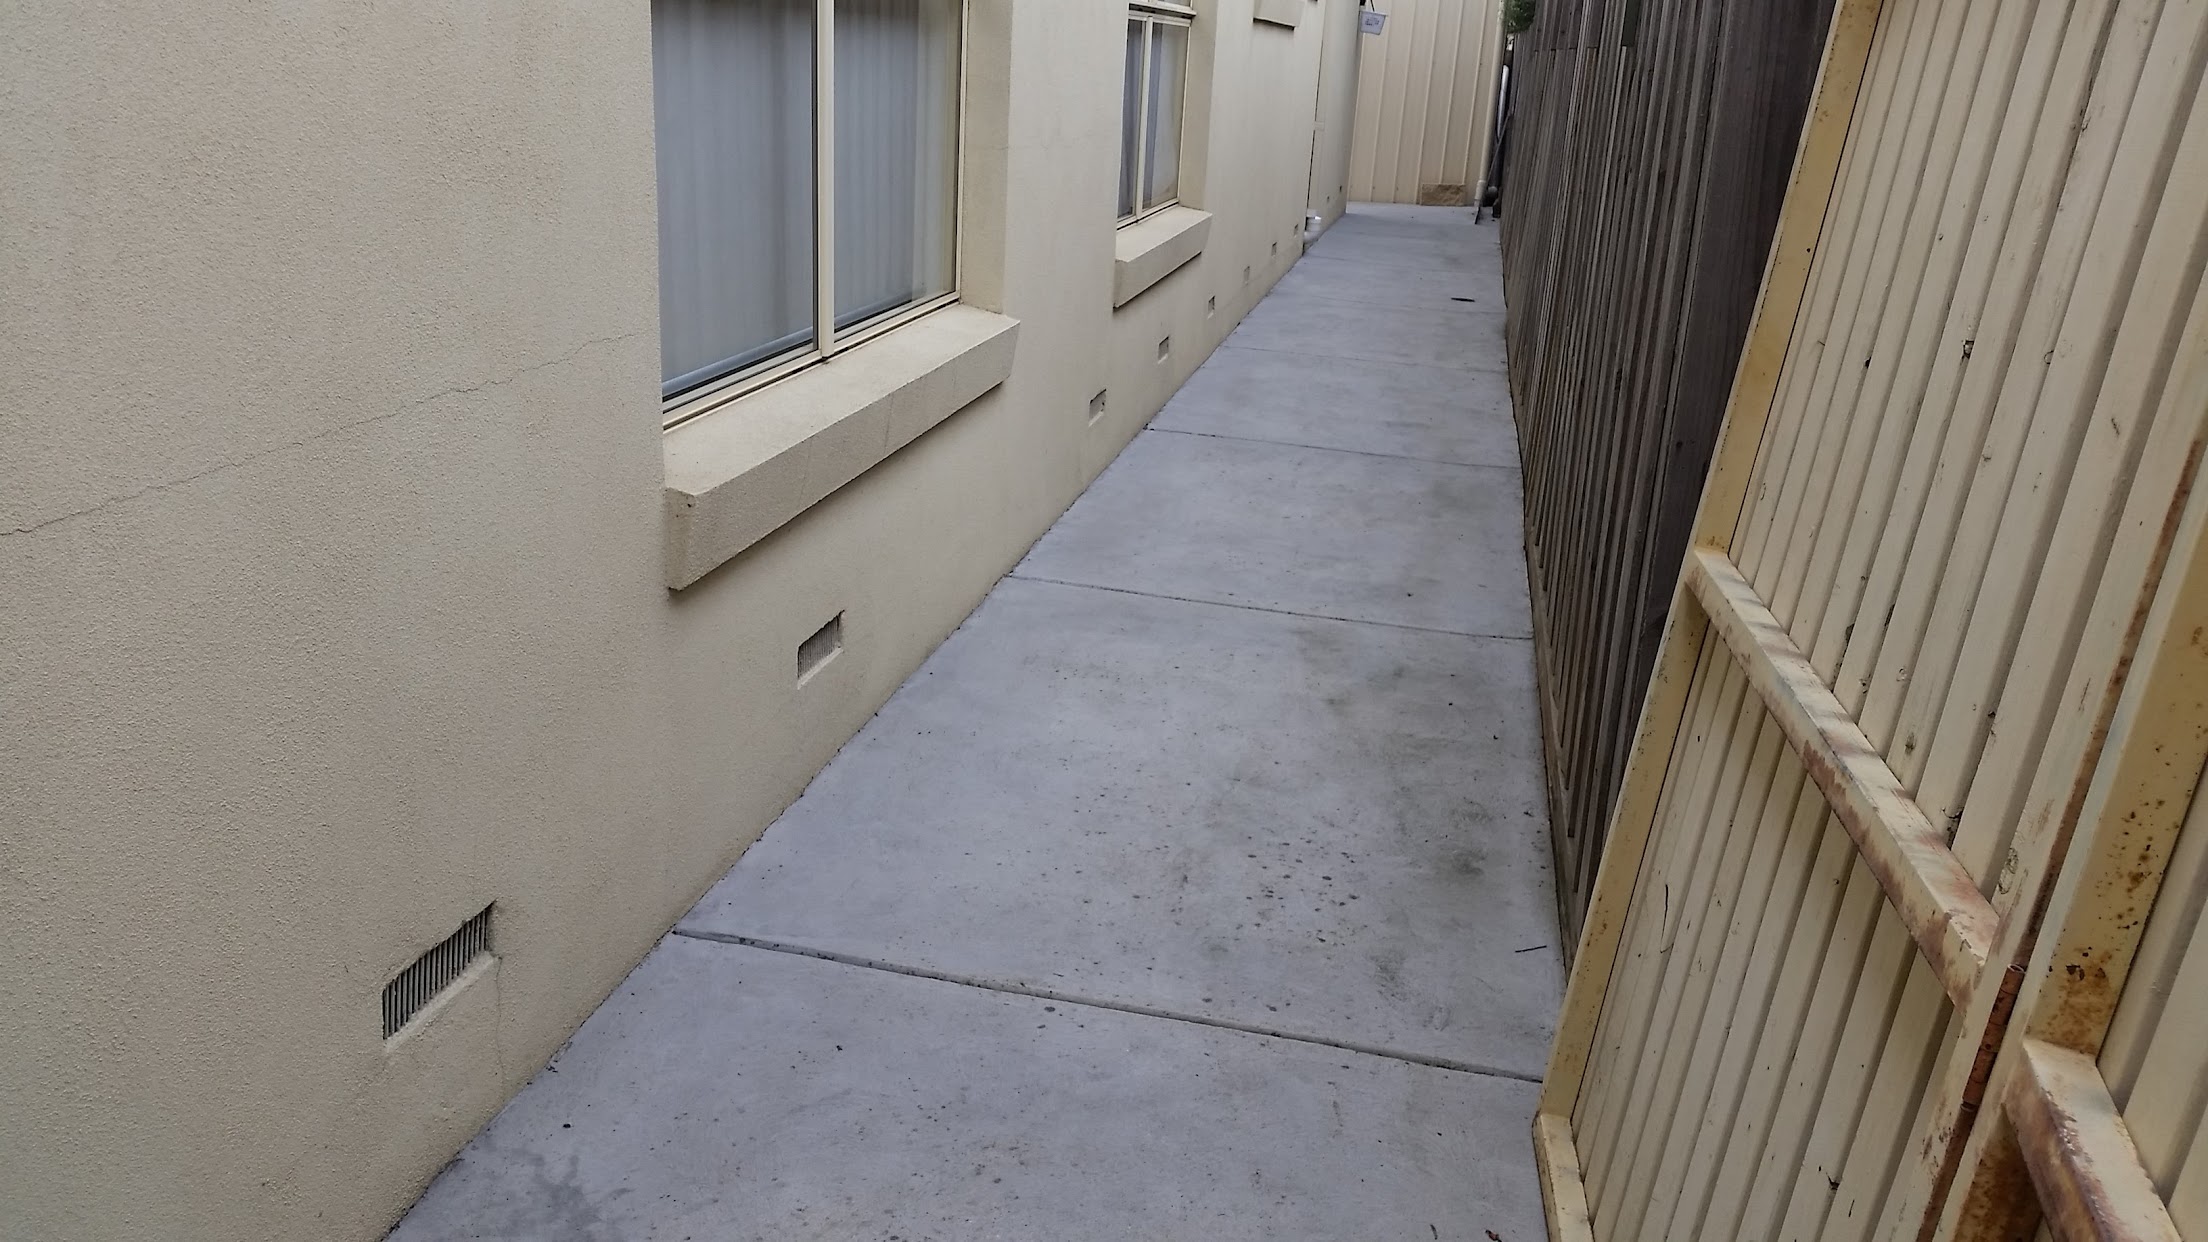
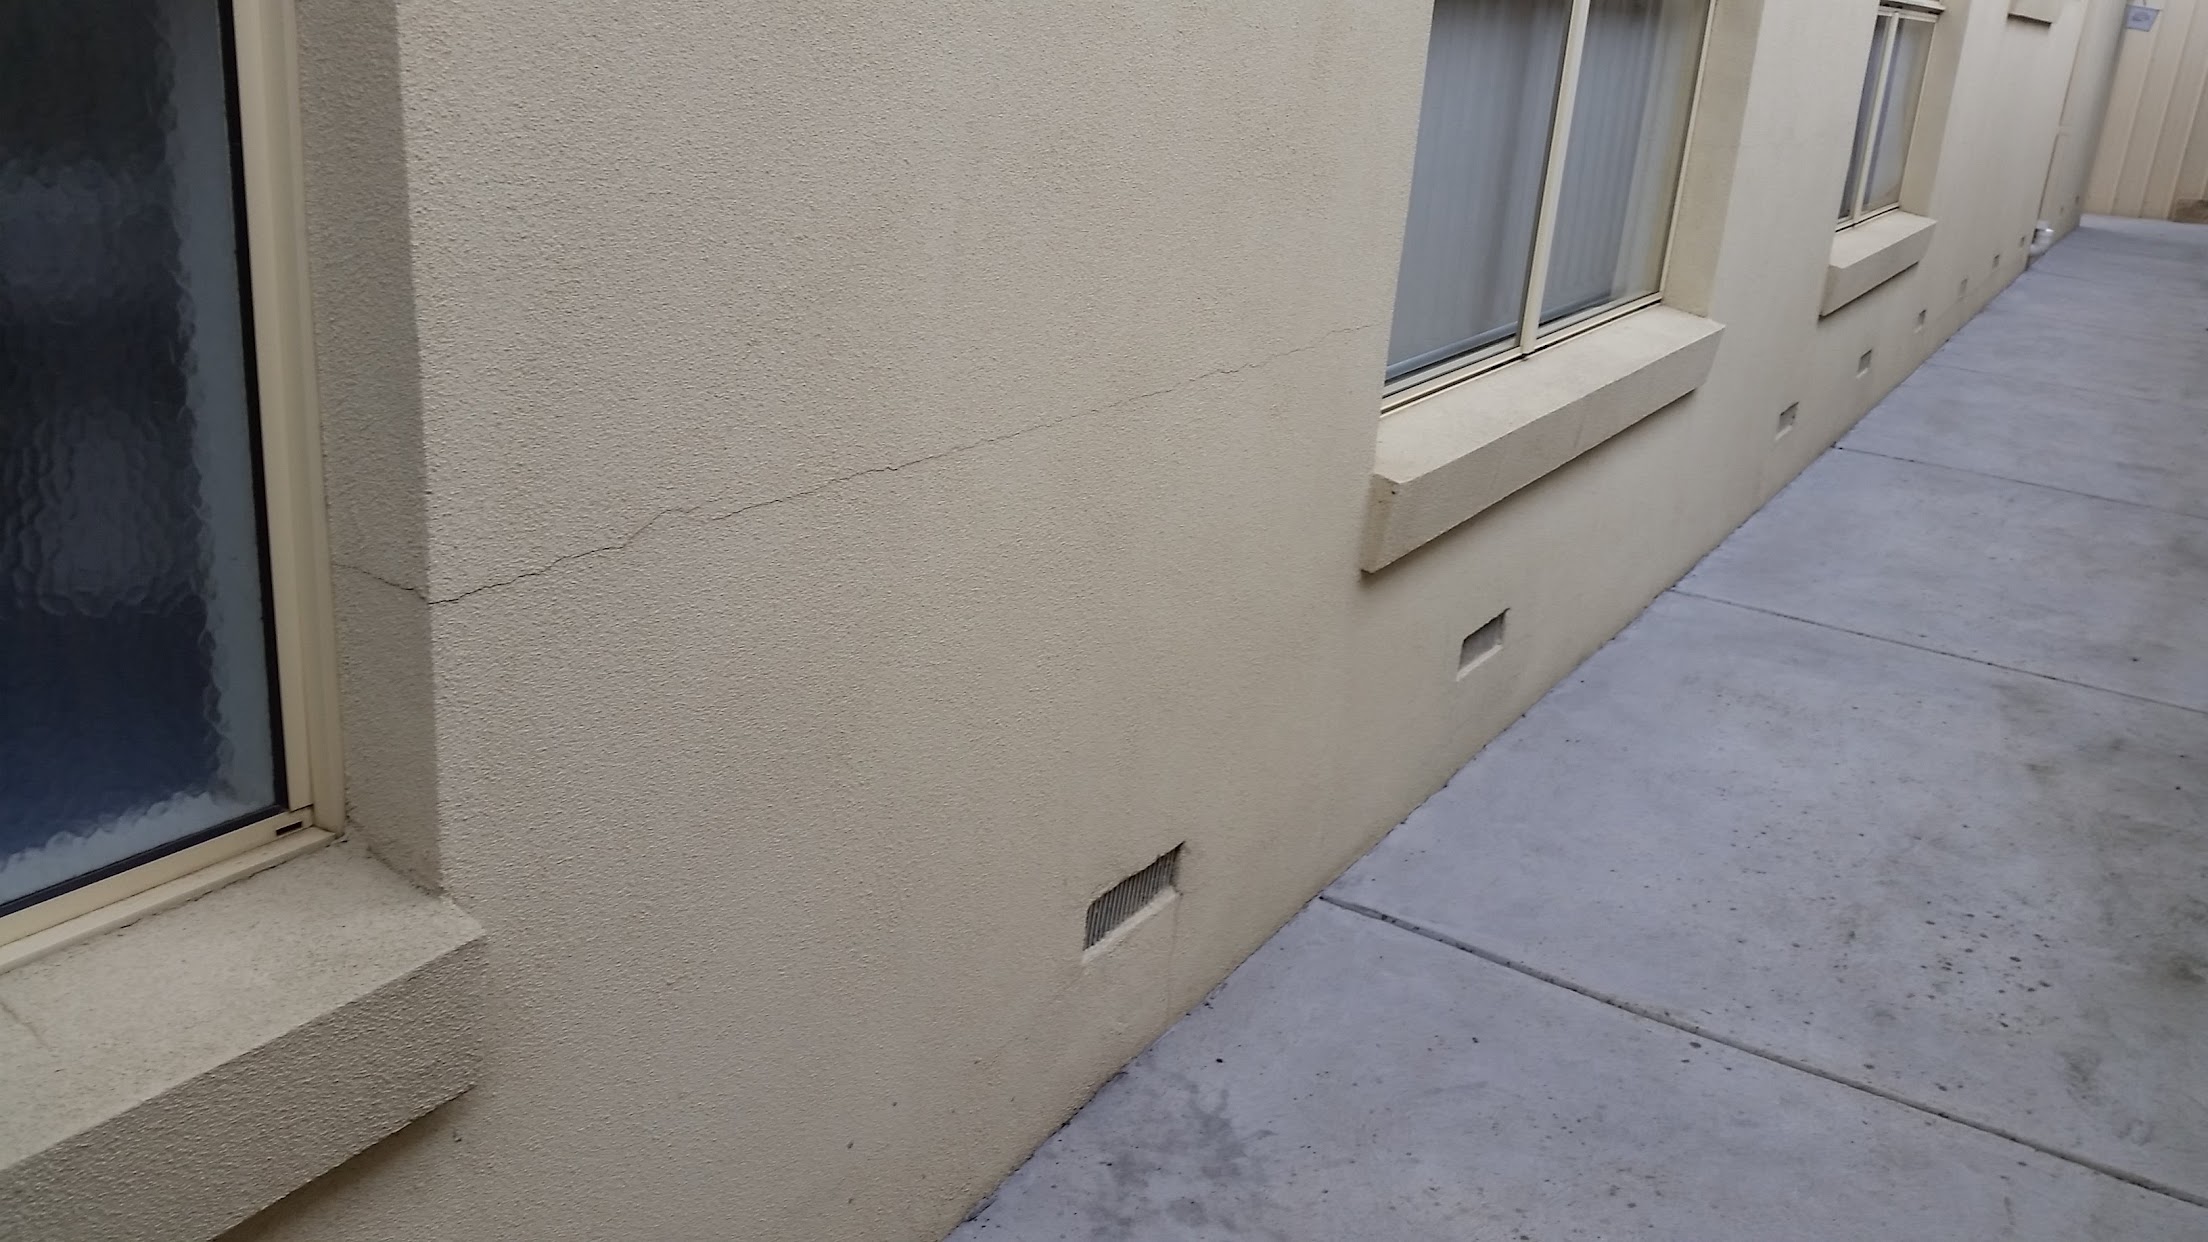
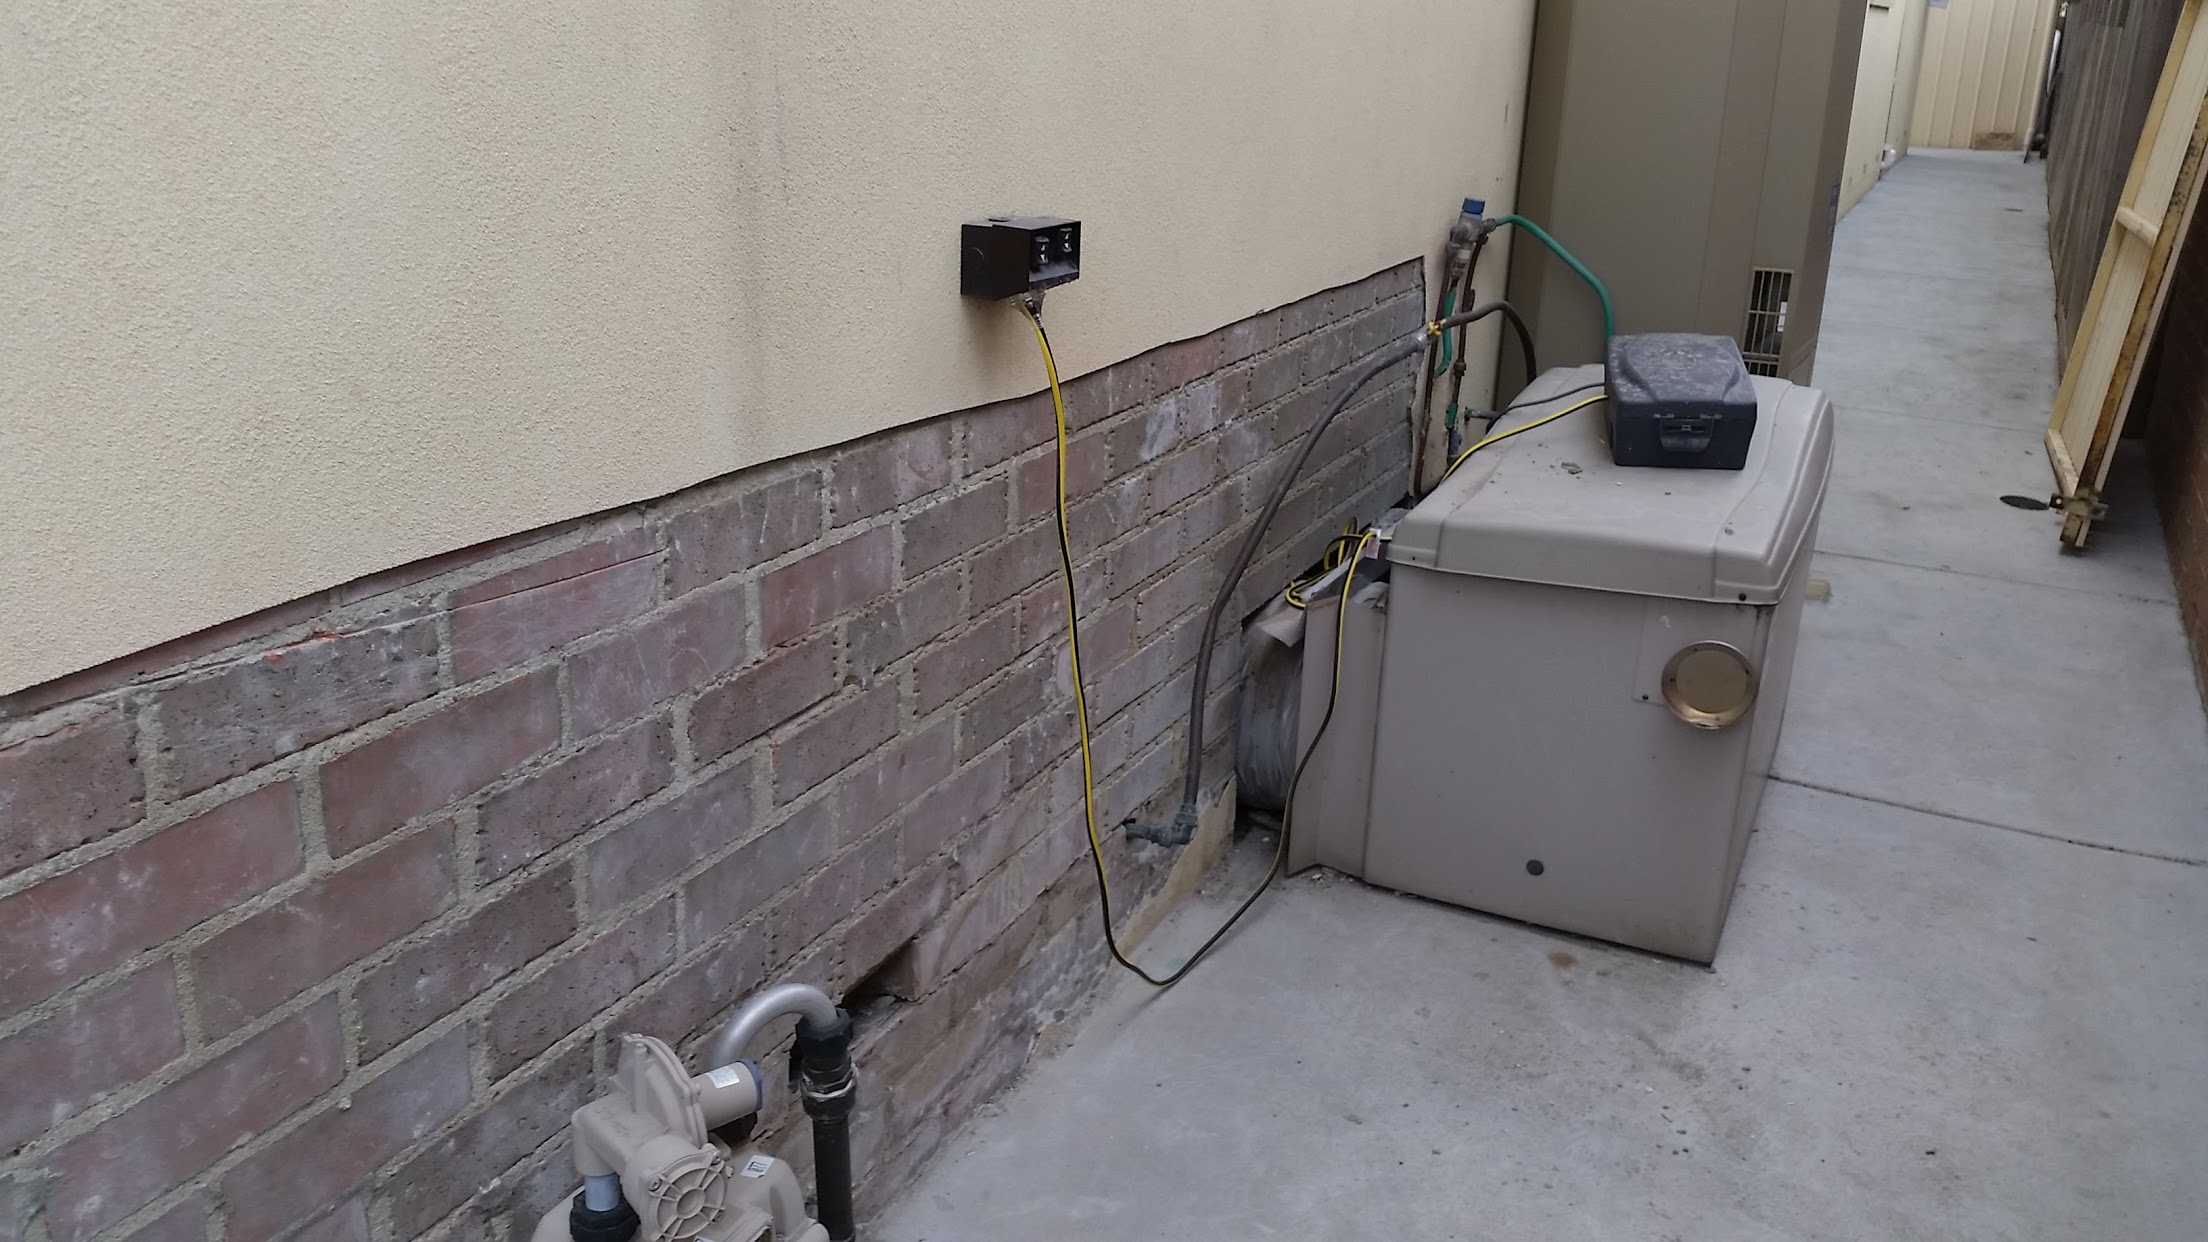
Every elevation was sounded and inspected to separate render that was still sound from render that had let go. Failed and hollow areas were cut out back to the brickwork, and cracks were traced to work out where movement was coming from.
Removing the render exposed a relatively smooth brick substrate with limited mechanical grip — one of the reasons the original cement-based system had struggled to hold. That informed the choice of an acrylic/polymer-based render system for the rebuild, which bonds to the prepared surface rather than relying on key alone.
Reveals to doors and windows were stripped back, returns prepared, and movement joints cleared and reformed so the new render had somewhere to move. Old vents were replaced as part of the same pass.
03 — Remedial works
Cracks treated,
portico rebuilt
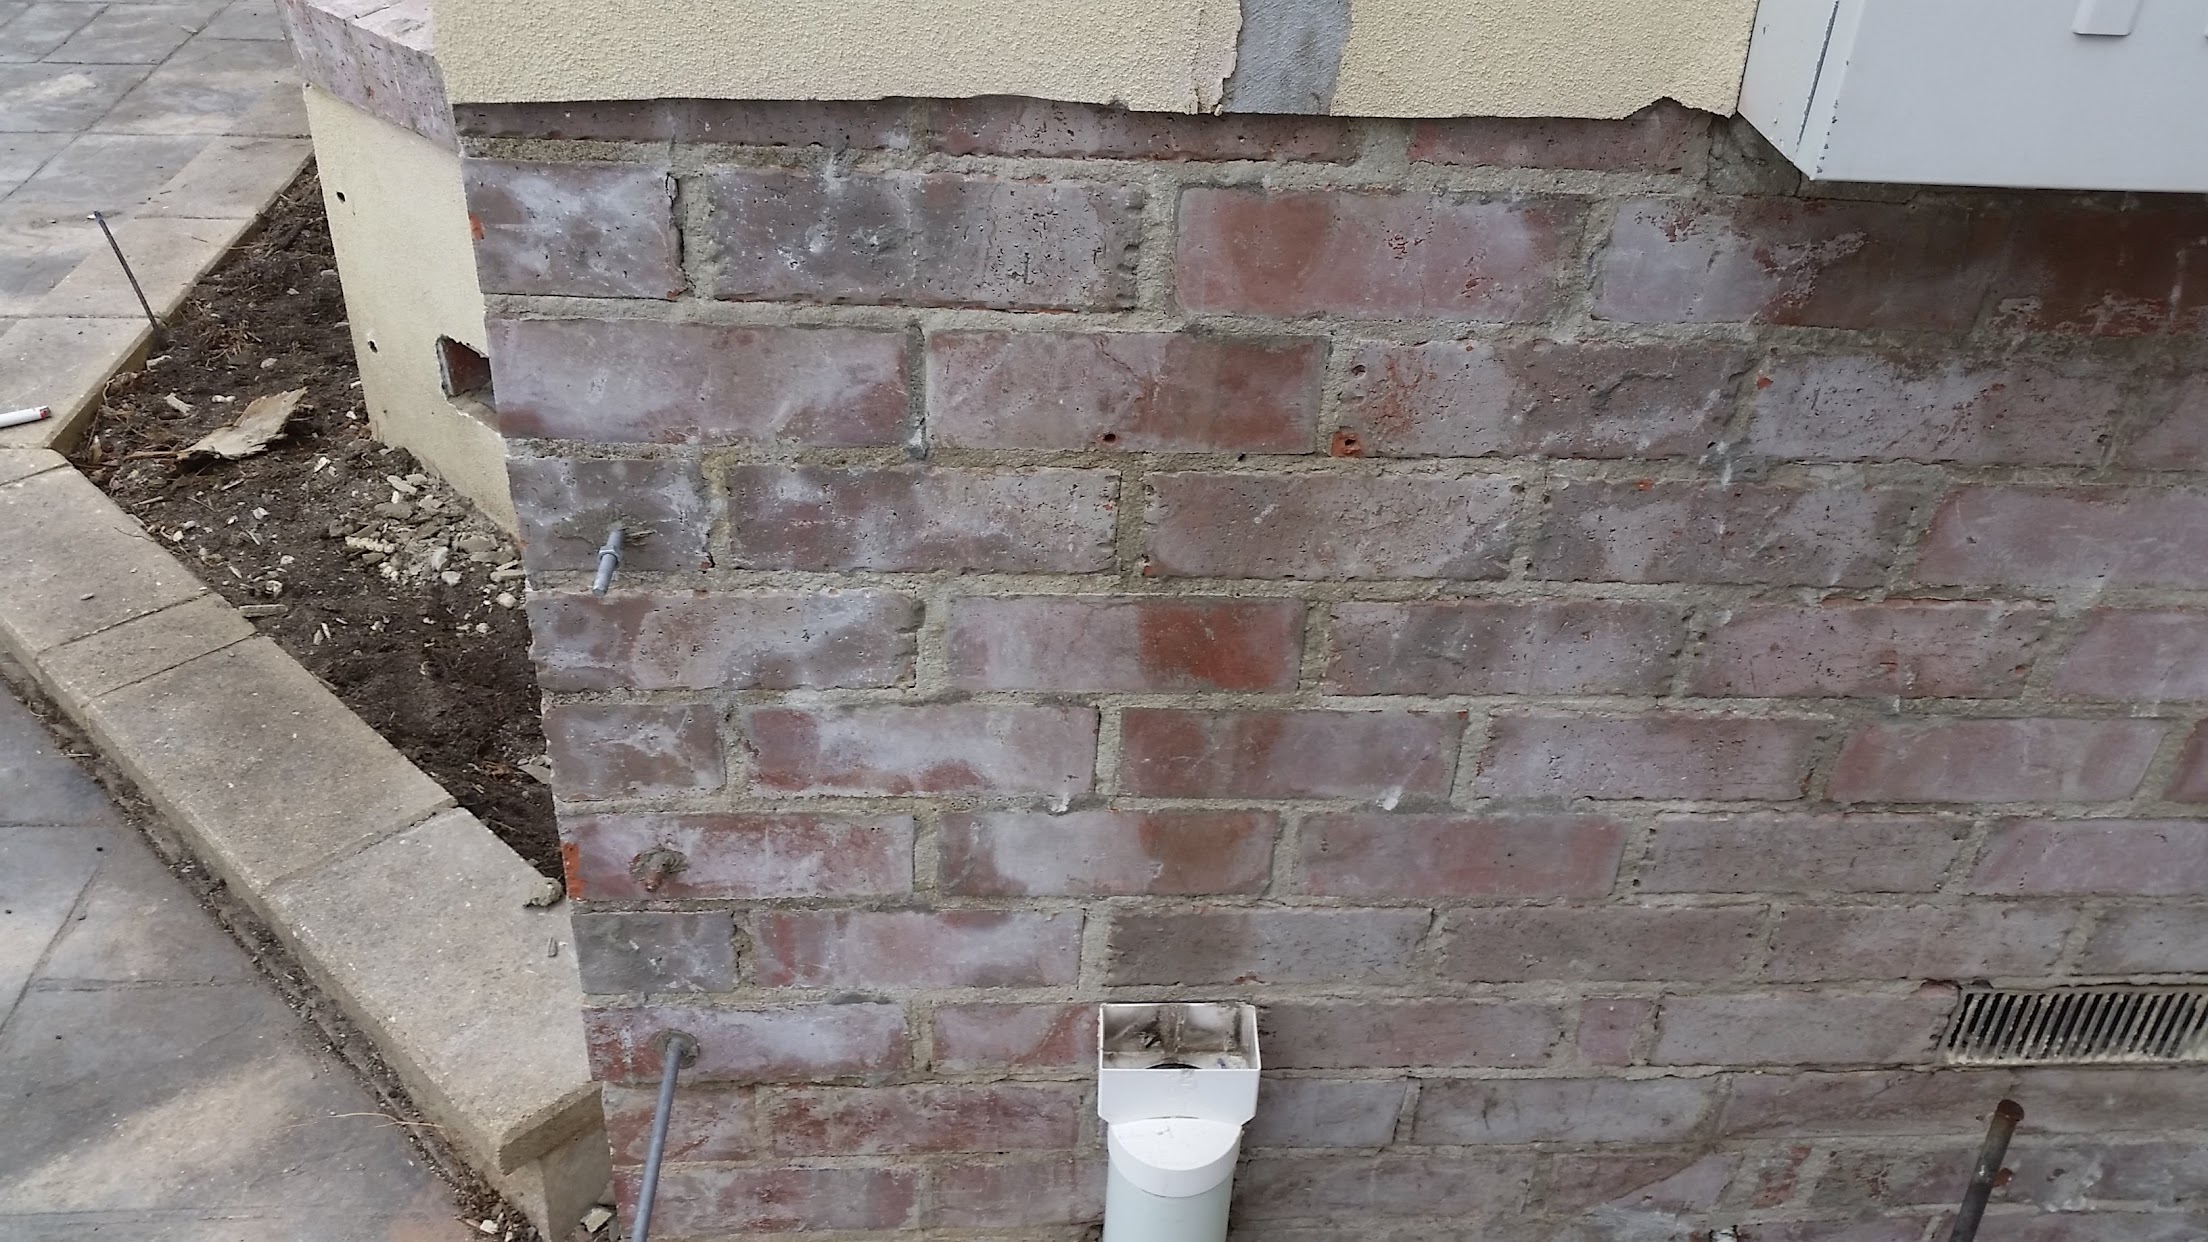
Where cracking was movement-related, the brickwork was stitched using a Helifix-style approach — slots cut into the bed joints, galvanised/steel rods installed and chemically anchored into place before the surface was made good. The external corner shown here had the most obvious movement and was mechanically stabilised in the same way.
This is remedial preparation and stabilisation of the existing brickwork, carried out to give the new render a stable background — not certified structural design work.
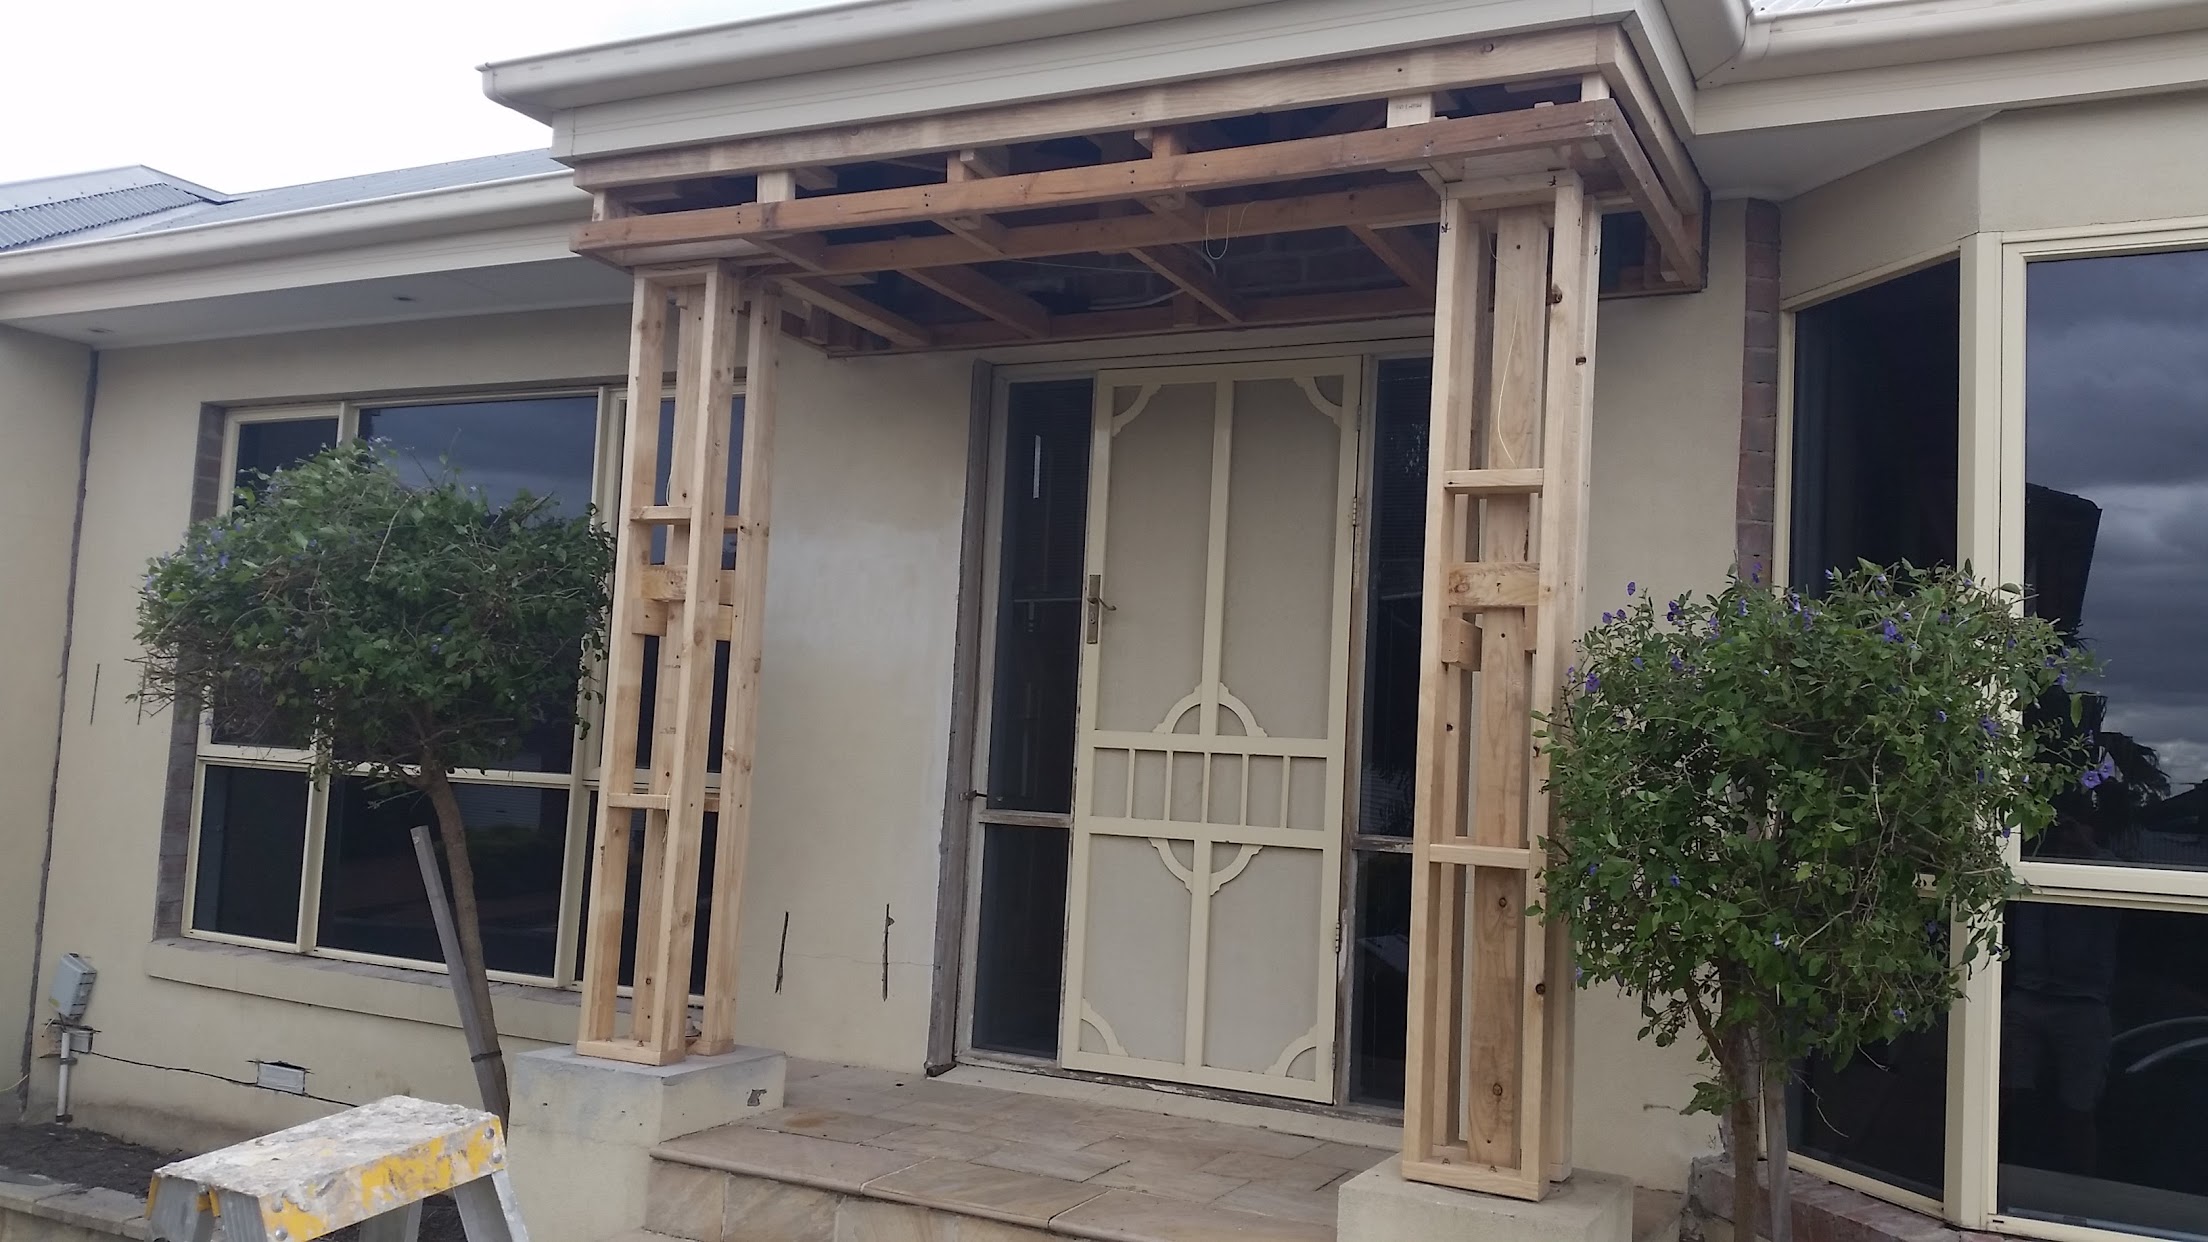
At the front of the house the existing portico pillars were removed and the portico rebuilt: framed, timber lined and sheeted, then boxed out ready for render.
04 — The rendering system
An acrylic system
for a smooth substrate
With the substrate prepared, stabilised and the portico sheeted, the prepared surfaces were re-rendered using an acrylic/polymer-based rendering system suited to the conditions on this house. It was chosen for adhesion to the smooth brick and cement sheet rather than for speed, and applied across the repaired areas and the new portico so the facade finished as one consistent plane.
Reveals, returns and joints were worked as the render went on, and movement joints were carried through the new coats rather than rendered over. That detail helps reduce the likelihood of cracking recurring in the same places — the same principle behind our render repair work across Melbourne.
05 — Finishing & coatings
Textured finish,
two-coat protection
The rendered surfaces were brought to a consistent textured finish before coating. Dulux products were used on this project, with the Dulux AcroShield coating system applied in two coats to complete the facade. The result is a uniform surface across original walls, repaired areas and the rebuilt portico.
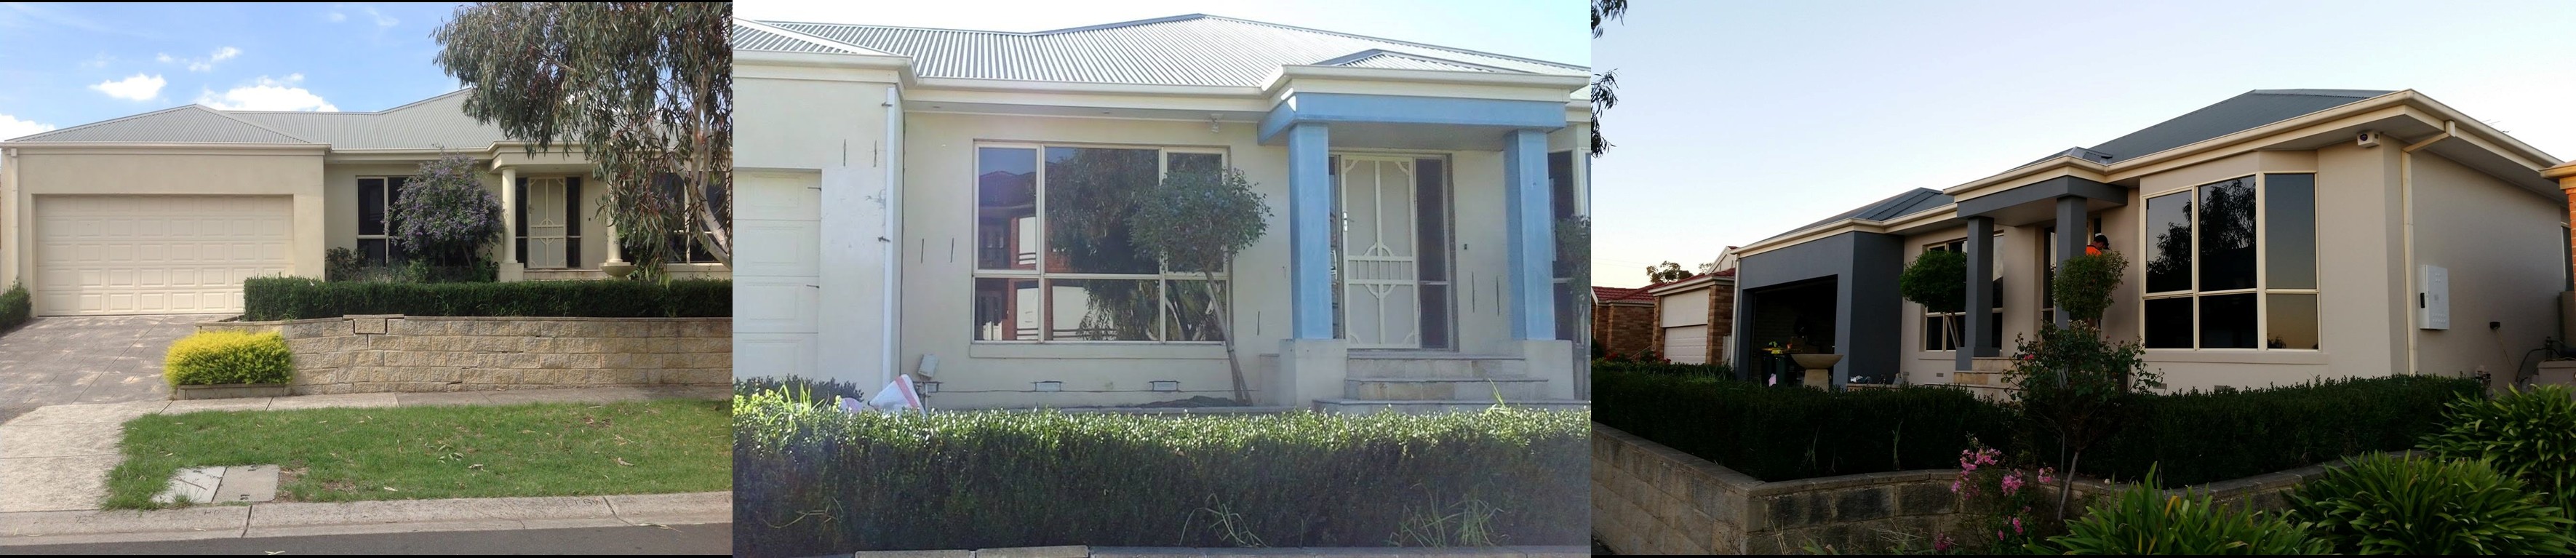
06 — Before → during → after
The project
in three stages
07 — The completed result
One consistent
facade
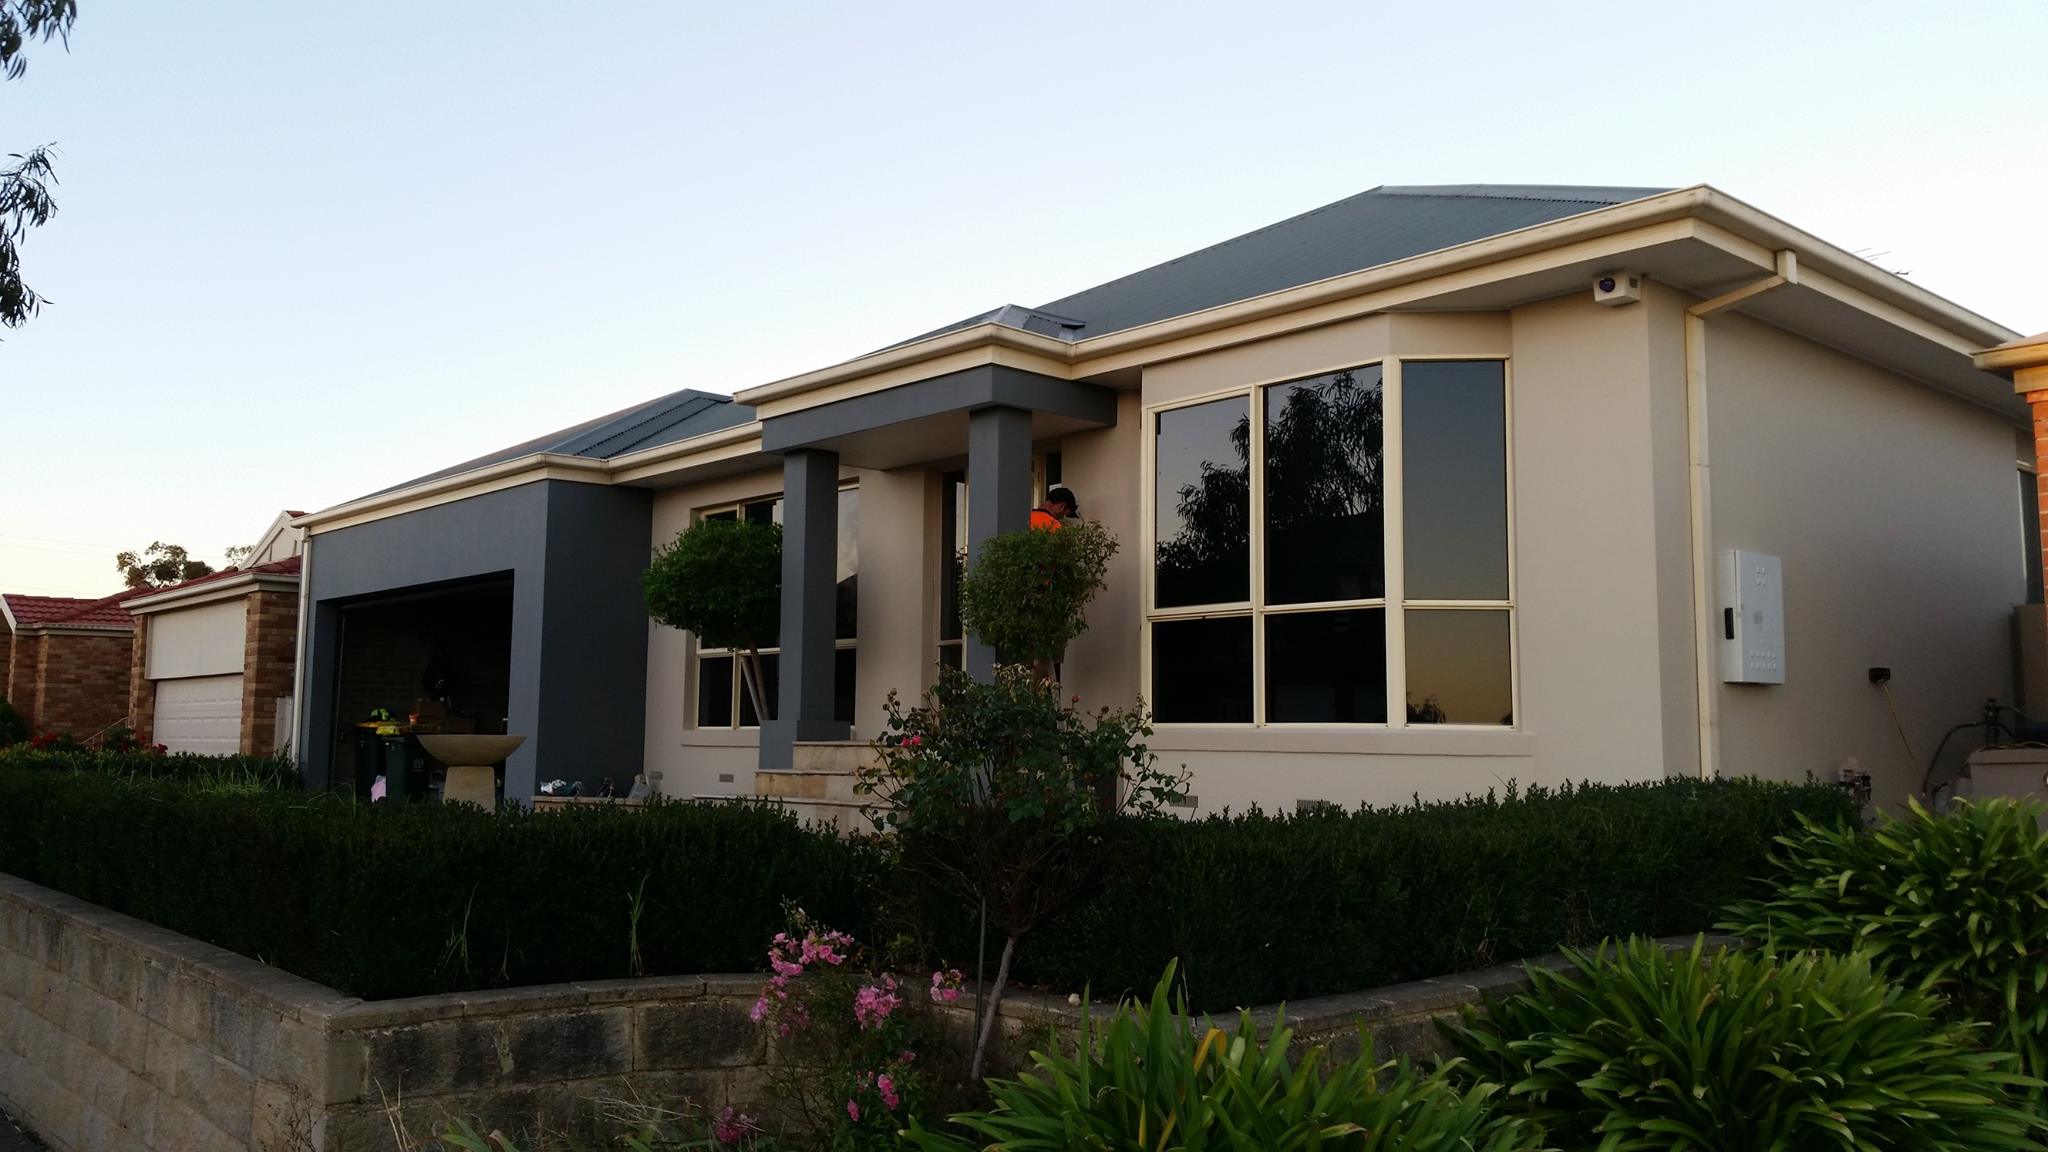
Where the render had been cut out and rebuilt, none of it reads as a patch. The portico sits square, the reveals are clean, and the textured finish and coating carry evenly across the front and side elevations.
08 — Why the remedial process mattered
Render only lasts if
the background does
Cracking in a rendered wall is usually a symptom. Filling and recoating hides it for a season, then the same lines reappear because the movement, the bond failure or the missing joint was never dealt with. On this house the cracked areas were opened up, the brickwork stitched and anchored, the failed render removed and the substrate prepared before a single coat went on.
That sequence — assess, remove, stabilise, prepare, render, finish — is what separates remedial rendering from a cosmetic patch. It is the same approach we take on acrylic rendering and facade restoration work throughout the northern suburbs.
Related services
Rendering services
behind this project
Cracked or failing render
on your place?
Send photos of the affected walls and the address. We will inspect the substrate, sound the render and come back with a written itemised quote.